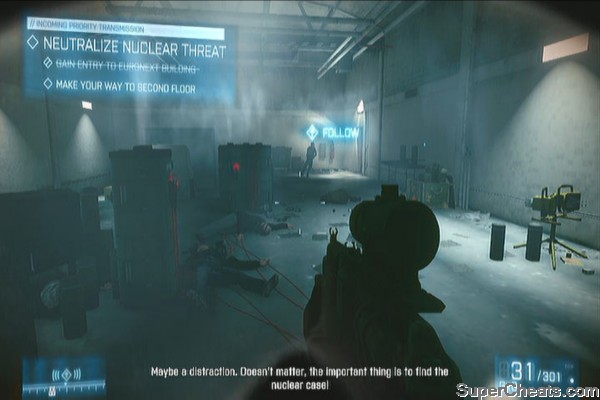
Battlefield 3

Battlefield 3 tells the story of Sgt. Henry "Black" Blackburn, a Recon Marine under secret interrogation in New York City by the CIA in order to determine the next potential location of a nuclear terrorist attack. Under suspicion of treason, Blackburn begins to recount the missions and events that brought him to this pass... and why he believes the militant Iranian insurgency called the PLR and a terrorist only known as Solomon are behind the impending attack...
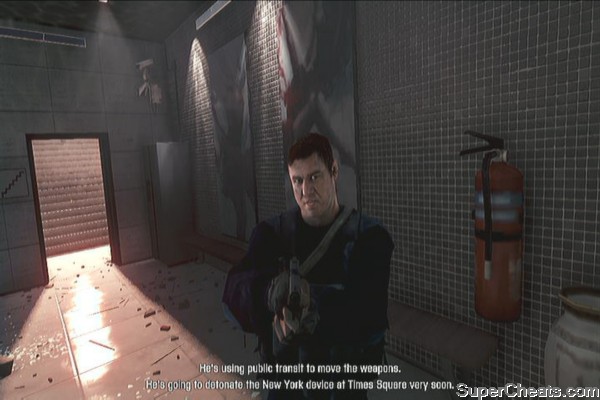
Check out our guide to Battlefield 3 which contains all you need to complete the single player walkthrough and all the co-op missions, a great achievement guide and a complete dog tag list other unlockables.
Operation Swordbreaker
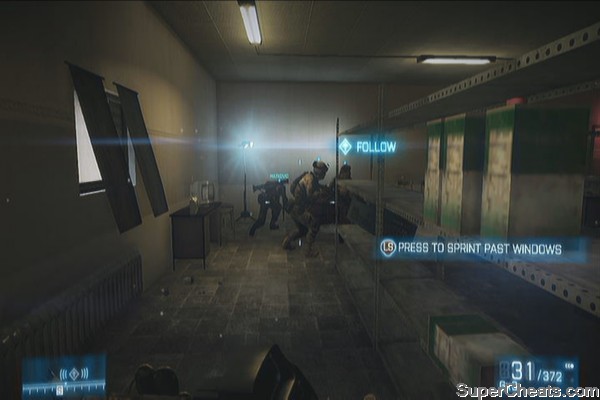
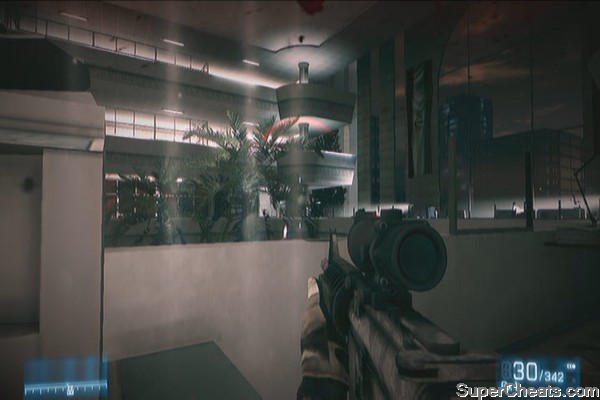
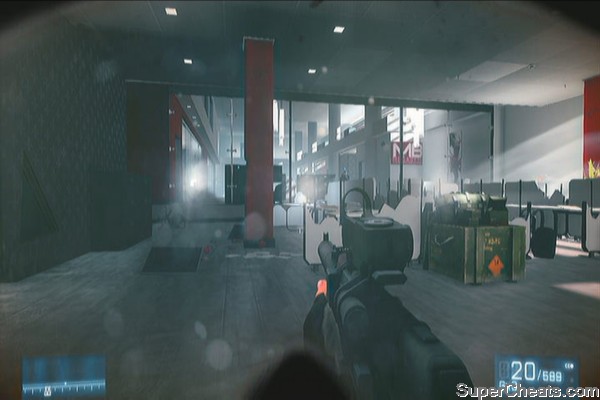
After the scenes, just follow your team mates to receive your mission briefing. After learning your objectives, head out. Follow your squad as you enter through the buildings. You'll finally reach the street. Stay put and wait for the technical to pass. Cross the street and stack up with your team mate by the door. Attempt to head out and your team will be ambushed. Drag your wounded team mate and keep pressing A to avoid getting damaged.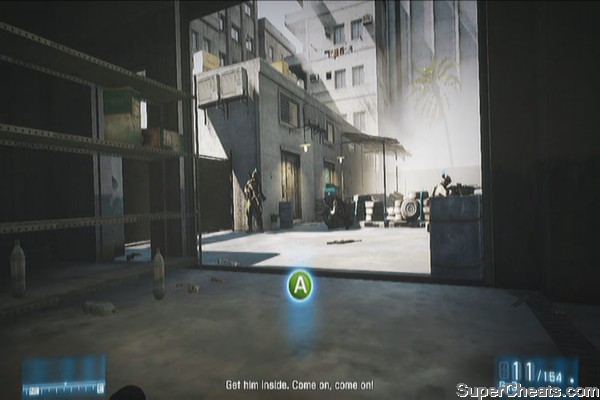 |
 |
 |
 |
 |
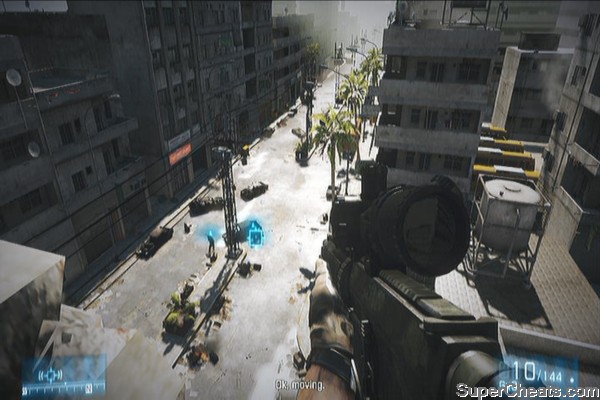
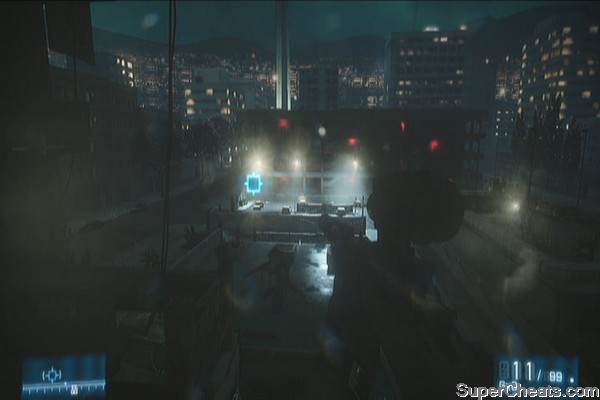
Anti-Sniper AT Next, head to the corner of the rooftop and cover your allies below as they extract your wounded comrade. Take out any hostiles who will appear from the alleys and the buildings. Continue helping them fend off three waves of hostiles until they get to safety. You will also unlock an achievement here if you killed most of the enemies, including some runners who will attempt to rush towards the building you're in after Doc Holiday leaves the scene.
 |
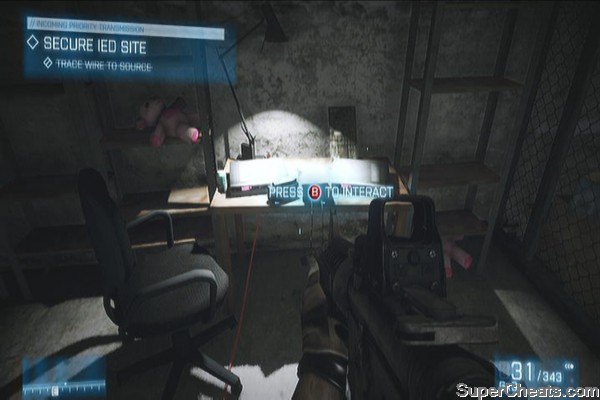
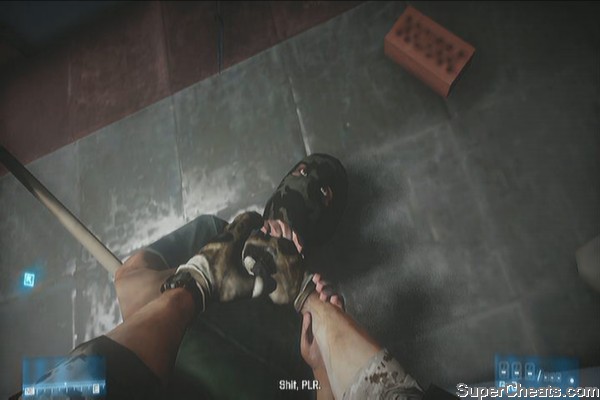
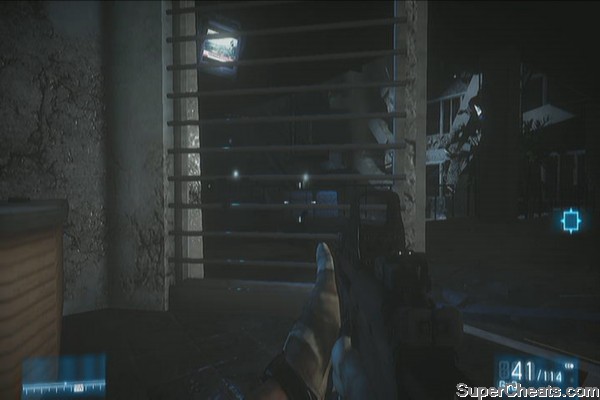
Not on my watch! Next follow your team mates as you cross the other building and descend to ground level. Continue to the next building where you'll find another ammo cache. Resupply and continue clearing the building. Head outside to find a destroyed HUMVEE and stay put until your orders are given. Trace the wire as instructed and it will lead you to a set of devices in a basement. Interact with it and beat up the terrorist who will attack you.
 |
Uprising
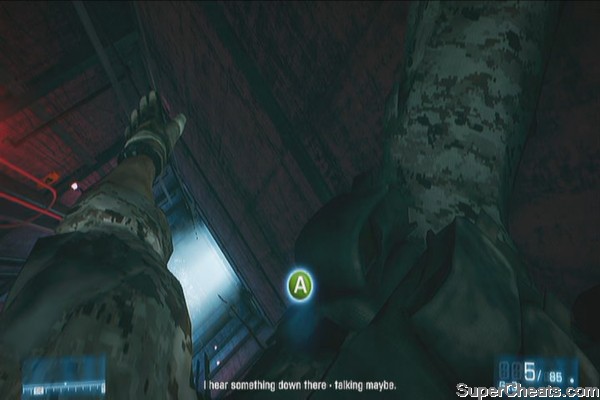
You'll have to avoid the PLR crawling around the place for this mission. Crouch and stick in the shadows. Follow the straightforward path until you reach a broken sewer pipe. Crawl inside and continue to the next building.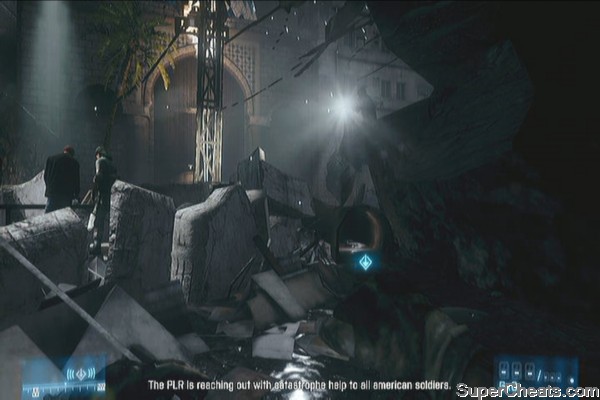 |
 |
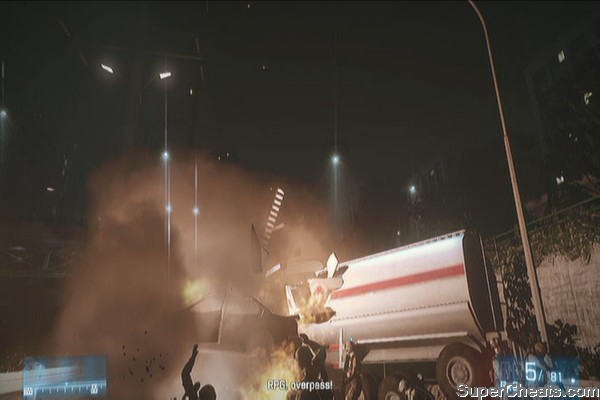
Two for the road! Head inside the garage and resupply using the ammo crate in the corner. The rear door will open. Hide behind a cover and take out the enemies waiting outside. Continue inside the wrecked bus and a rocket will blow it open. Before heading outside the bus, there's another achievement to be unlocked and its a little bit tricky. First take out the three enemies nearby. There are two enemies that will appear as soon as you exit the bus. The building beside them will crumble and you have 3-4 seconds to kill them both before the debris buries them alive. See the video below.
Leaving them alone could've saved me a few bullets... This is easier done in Easy Mode since you can aim faster and more accurately, and enemies die faster. You just need to sprint outside and immediately zoom to auto-target the two enemies. It is recommended to kill the enemy to the left since he's closest to the crumbling building.
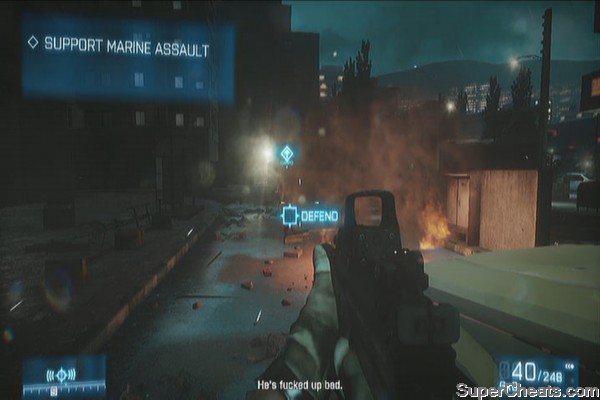
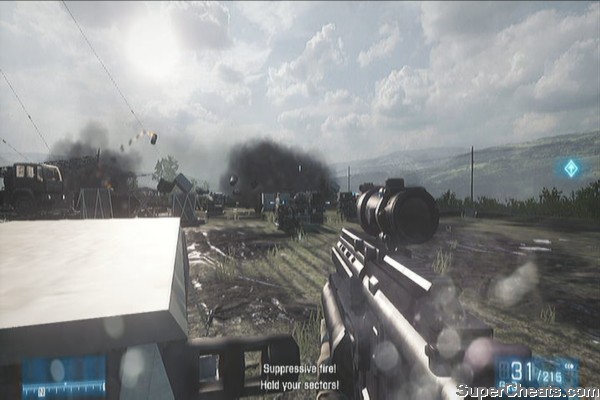
Once done, head to the next marker and kill two more enemies inside. Breach the door below and continue along the corridor to finally meet up with up with Montes. Follow him until you regroup with your other surviving allies. Run to the marked Humvee and man the turret. Use it to fend off the attacking enemies. More enemies will appear to the right. Rain lead to them until you get the prompt to run to the Osprey. Mission complete.
Going Hunting
Once you're inside the F-18, follow the onscreen instructions to perform a pre-flight check with your aircraft. Once ready, press Y to take off. Enjoy the view for the meantime until your flight enconters multiple bandits. There's an achievement you can unlock here by doing a "perfect run". Remember that if you didn't meet any of the requirements to unlock the achievement, you'll have to restart the whole mission. It is recommended to attempt this achievement in easy mode.• Kill all bandits without missing
• Avoid getting damaged
The Perfect Run For more tips and details, refer to the "You Can Be My Wingman Anytime" achievement in the corresponding section of this guide.
Next, you'll be in anti-ground mode. You'll be switching to AGM-88. Lock on the targets and release your air-to-ground missile once you see the word "Lock" floating above the target. Destroy the initial three targets. Next, you'll need to switch to JDAM and infrared to locate the parked aircraft. They'll be illuminated brightly in the background so you shouldn't have problems finding them. Once you find your target, zoom in and press the trigger. Just keep the targets within your crosshairs to destroy them. Next, you'll have to destroy a couple more of planes exiting their hangars and attempting to take off. Use JDAM to get rid of them and prevent them from getting airborne.
Eye in the sky Three vehicles will appear on the runway, as well as a helicopter. Once you're clear to engage, mark the spot where you want the A-10 to do its gunning run. After destroying the helicopter and the vehicles, runners will also become available. Just place a marker in the middle of the group and let the A-10 do the job. Mission complete.
Operation Guillotine
Follow your allies as you charge down the hill. Head to the spot where you need to set up your mortar then press B.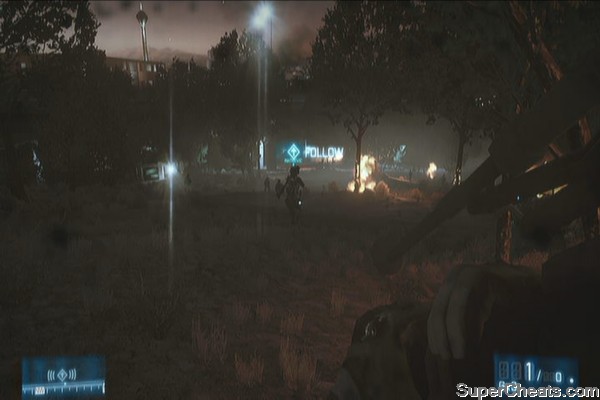 |
 |
After pulling over, head to the next objective and you'll be caught in a major ambush. Don't bother shooting them all from your current position; just regroup with your squad and follow them as they attempt to flank the enemies.
 |
 |
 |
Tank Hunter Next, move to the next objective point and wait for your new orders. Follow your team leader to get into flanking position. Push your way to the back of the bank, then stand under the emergency ladder to boost your ally.
 |
 |
 |
Comrades
Disembark from the car and head to the marker. Press B to hack the wire and open the gates. Continue to the parking lot and take out all enemies there. Continue downstairs, and fight your way to parking lot B. Continue following your comrades until you need to breach the door.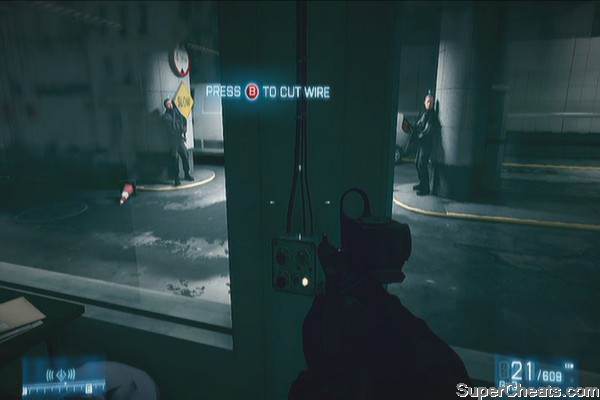 |
 |
 |
Thunder Run
Once you have control to your tank, you can unlock an achievement early in this mission. As soon as you spot several enemy tanks, destroy six of them to get the "Scrap Metal" achievement. Refer to the video below.Love the smell of burning steel in the morning After destroying the tanks, you'll have to switch to thermal mode to spot two more enemy tanks. Take them out the watch the following scenes. Once in control, charge to the enemy fortification and take out the enemies. Remember to switch to your machine gun when dealing with infrantry, specially the RPG soldiers. The rocket batteries will be marked in your map so head there and destroy them all.
The cavalry has arrived! After getting your new orders, head back out to the desert and hunt down enemy tanks. Next, you'll be ordered to take out the convoys. There will be some tanks here as well so take them out first before moving on to the softer targets.
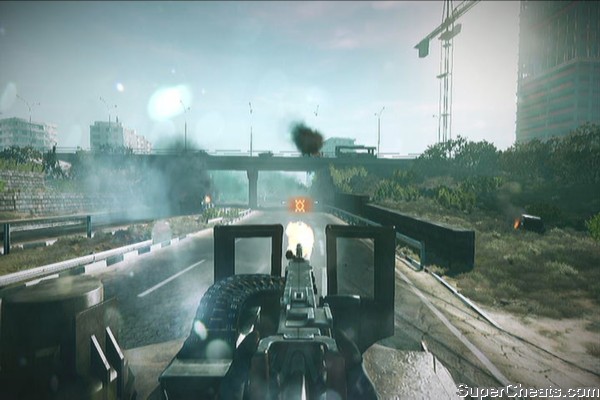
We'll ruin somebody's day. Next, head to the highway and join your allies. Continue following him until you reach the underpass. Approach the soldier on foot then you'll need to activate the trigger as marked in the map. Simply run there, grab the detonator, run back and activate it. Once done, go back to your tank to man the .50 cal.
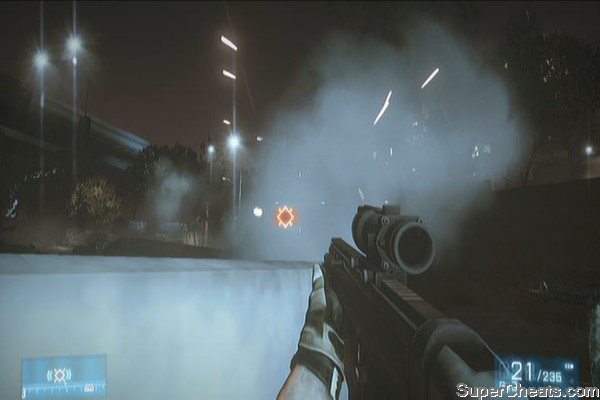
As you move down the highway, keep a look out for enemy RPG soldiers. Also, you can eliminate enemies much faster by shooting at cars and explosive objects beside them. Along the way, a tank will appear in the gas station. Just shoot at the gas pumps and it should be enough to take out the tank. Continue along and wait until a friendly tank gets destroyed by a suicide bomber. Wait for a few seconds and two enemy vehicles will appear. Concentrate your attack and make sure that they're destroyed before getting near. One more will appear to your right; and you also need to take out the enemy RPG soldiers who will take position in the overpass. Wait a bit and mission complete.
Fear No Evil
Once in control, drive the tank through the small alley. After 3-3 is taken out, drive through the building and head to the objective marker. Destroy all tanks and enemy troops. Watch the for the next scene.Walls are nothing Next, you'll need to defend the allied extraction helicopter. Just take out enemies converging around the area. Remember that those sandbags can be destroyed by continuous gunfire. Keep doing this until you get captured as part of the story. Watch the next scenes, mission complete.
Night Shift
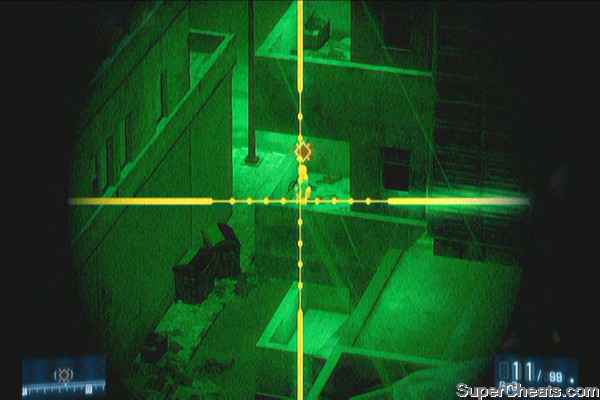
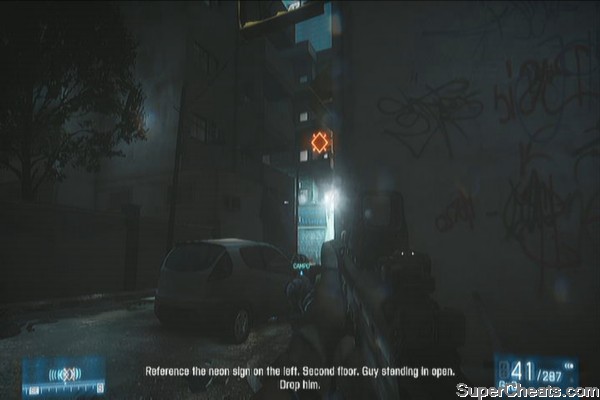
At the start of this mission, you'll have the chance to unlock another achievement. You need to take out the lights with one bullet each. Don't concentrate on the actual bulbs. Just aim for the metal part that's holding them. Crouching will also help steady your aim. Remember to hold your breath still as you take steady aim.Four lights with four bullets After taking out the lights, zoom at your allied ground units to detect their IR strobes. Next, stand up and head to the other side of the rooftop and dig in. Take out the PLR lookout on the second floor when ready.
 |
 |
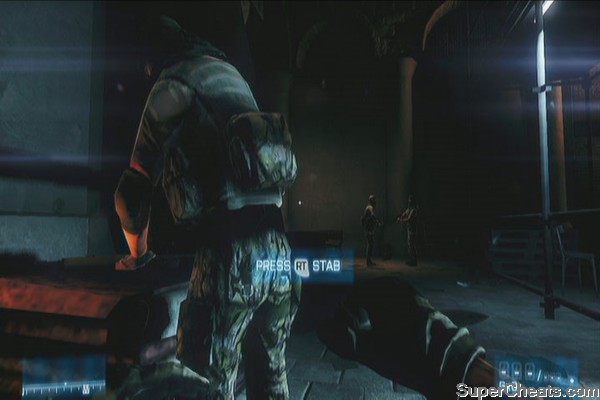
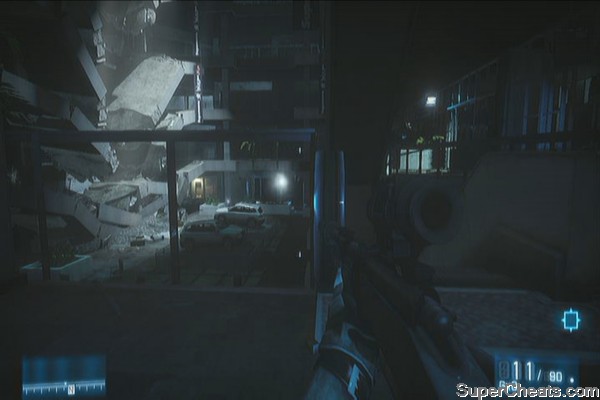
Two PLRs, one shot Once done, climb down the ladder then follow Campo to the building. Take out the PLR using your knife. More enemies will appear so run through the door and continue running until you reach the sewers. Continue moving forward and climb the ladder up to street level. There will be enemies ahead so take them out as well.
 |
Move along with your squad mates then climb up with Campo to the overwatch position on the rooftop. Provide covering support to your team mates.
 |
 |
 |
Rock and A Hard Place
As soon as you're ambushed, you'll have the chance to unlock yet another achievement at this point. You'll have to knife-kill one of the enemy soldiers there. The nearest ones are the soldiers by the wreckage. Kill one of them then run and knife-kill the other.That'll be mine, thank you Continue sweeping the area to eliminate the ambushers. Next, follow your team to regroup with Cole. Go downhill and proceed with your attack.
 |
No armor is too thick... Follow Cole to the next attack point and clear it again. Continue pressing forward until two more enemy armors appear. Equip your anti-tank weapon again and take them out. If you need to resupply, there's an ammo depot in the side of the road.
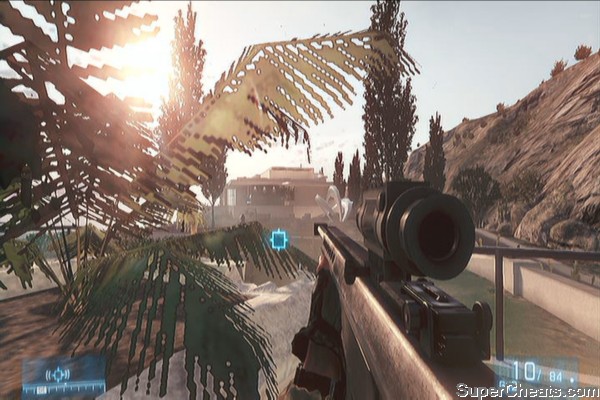
and no metal is too strong... Continue ahead and an enemy jet will attack. There's a glitchy achievement to unlock and you need to take out the SU-25 with one shot. Some say that you won't unlock the achievement if you're killed by the bombardment and reloaded a checkpoint during the mission so may take that into consideration. Another thing to note is that some say to stick close with Cole and hide where he hides until you get the chance to run to the Stinger. Once the jet is marked, take aim and fire once you get a solid lock.
One noticeable glitch you'll notice is that the objective to shoot down the SU-25 appears AFTER you destroy it and after moving to the objective marker.
Kaffarov
After landing, follow your team mates. Kill the enemies then open the drogue to get your second primary weapon. Go to the road and hop on the van. Upon reaching the enemy base, kill the guards as prompted then open the gate from inside the room. Fight your way uphill until you reach the poolhouse.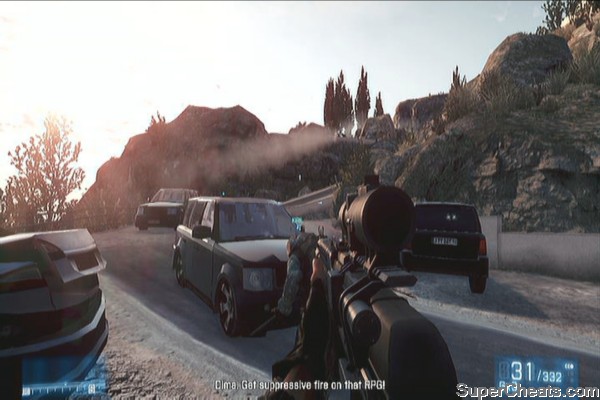 |
 |
Room service! Head downstairs and continue killing enemies. It's a hard to see so just use their own flashlights as your personal marker. After that, you'll need to head to the target range. This is where you can unlock yet another achievement. Take your time to land headshots against the cardboard targets. You can also kill enemy soldiers using normal means.
Practice makes perfect Move upstairs and continue clearing out enemies. Run towards the exit, then jump on the helicopter. Press B during the action sequence and watch the next scenes.
You'll be controlling Blackburn next. Head to the poolhouse and go to the marker. Watch the scene and when you have the chance, shoot at your ally once to complete the mission.
The Great Destroyer
Make your escape and jump out of the window. Follow Montes to the street. Run to the objective point and jump. It's the whole Semper Fidelis mission again – minus the tutorial. This should be a quick and straightforward mission so just continue forth until you finally catch up with Solomon. Press the correct buttons quickly during the action event then continue your pursuit through the sewers.Tunnel Rat As you reach street level, you'll be in a car chase courtesy of Montes. Once you get to pull your handgun, aim and shoot at his car. In the ensuing action scene, press the quick-time action buttons correctly (to unlock the last achievement in the Campaign) and watch the following scenes.
Congratulations for completing the campaign!


Post a Comment