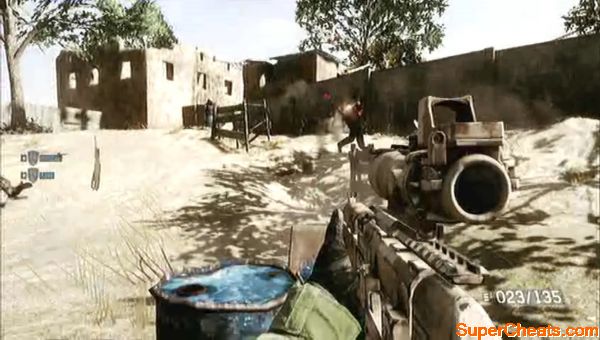
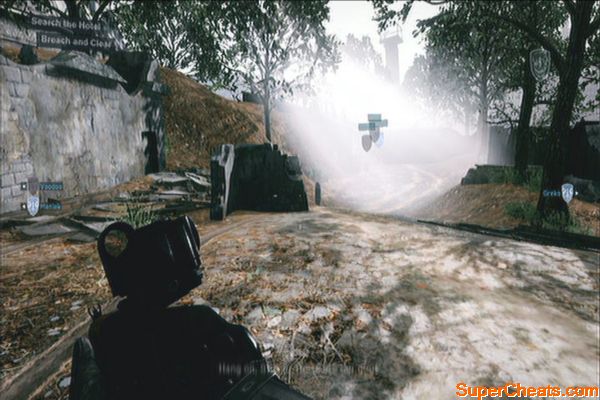
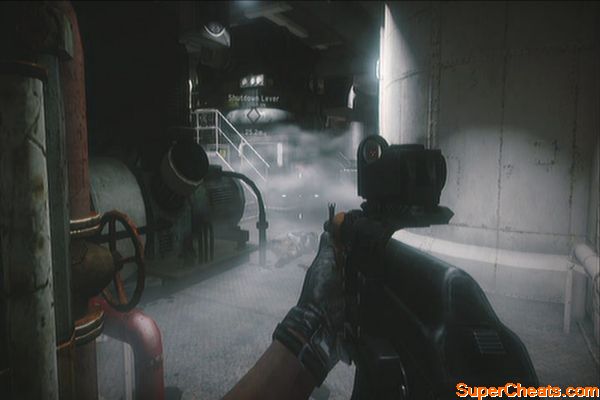
Execute the guard then continue upstairs. Take out another guard there then plant the charge at the back of the trailer truck. Stand by then kill the guard when Mother tells you so. Next, stand behind the barricade to detonate the truck.
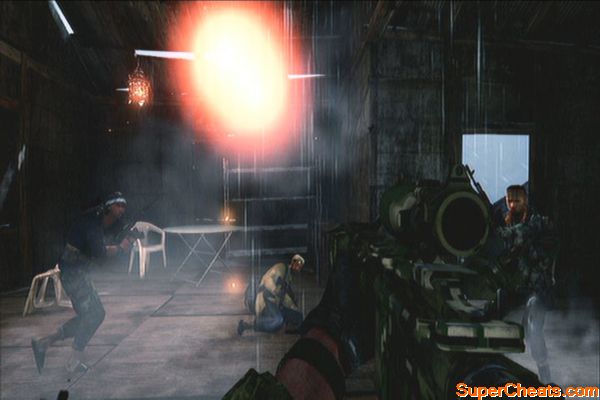
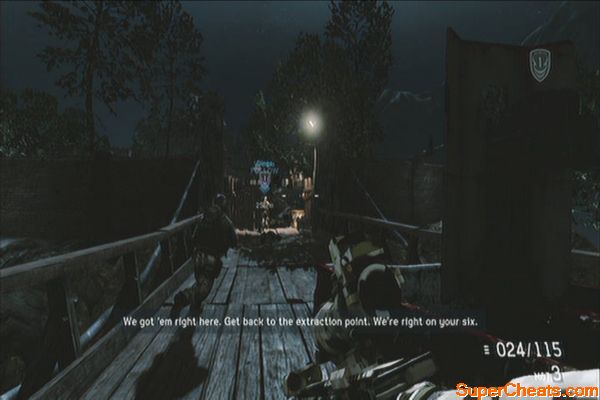
After detonating, you have to head to the extraction point. All hell breaks loose but you'll still need to keep an eye off enemies that you'll encounter along the way. Follow Mother as you make your way through the containers until eventually, a hostile armed helicopter halts your advance. Pick up one of the SMAW launchers near the railings then take the helicopter out.
Through the Eyes of Evil
This will serve as your training session for the game. The controls are pretty conventional so you just need to follow the prompts as they appear in your screen. After learning the basics, you have to make a timed run through the simulated airplane and destroy the targets until you breach the makeshift cockpit. You can retry the stage or just leave through the door to complete the stage.
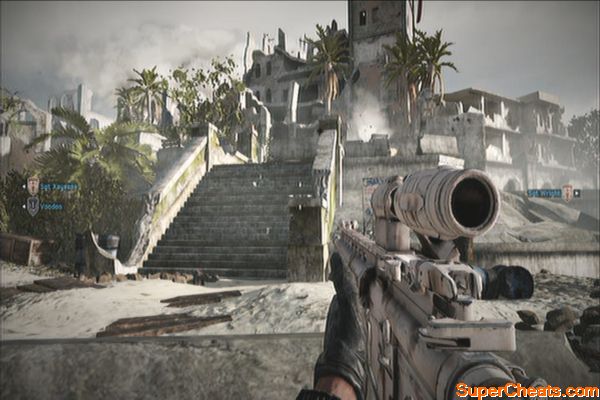
Shore Leave
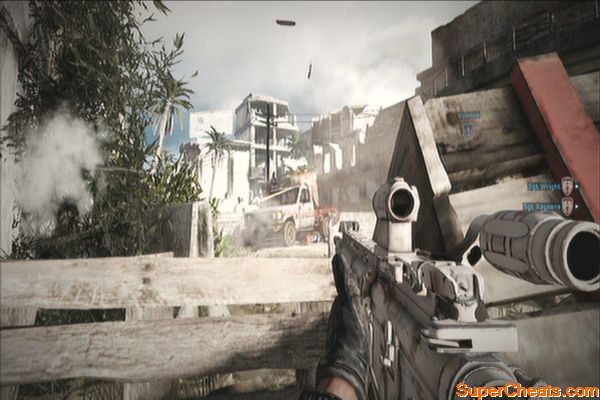
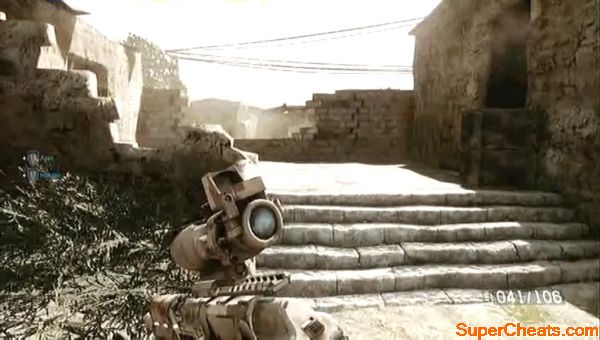
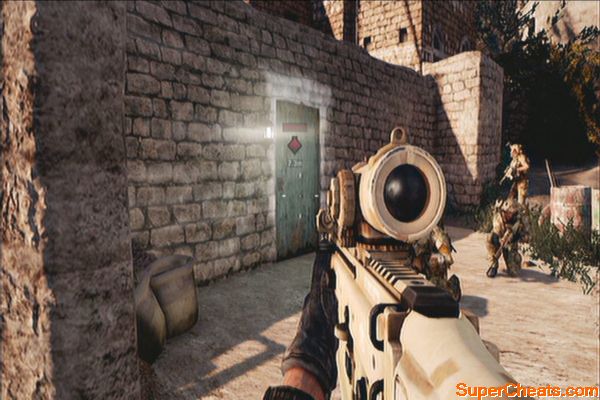
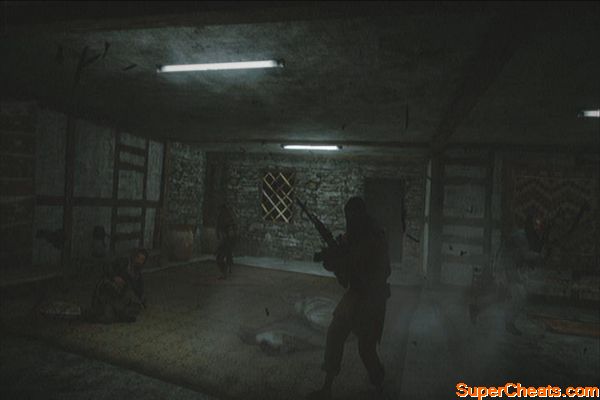
After disembarking, find cover and dig in while taking out the hostiles up ahead. Just don't expose yourself too much and take your time picking the enemy off one at a time. As you move forward, be careful of the Light Machine Gun (LMG)-wielding enemies inside the building. After clearing the area outside, continue inside the building then go upstairs. Breach the door open then kill the guards inside.
Next, you have to help your allies pinned by sniper fire from the building far ahead your location. Equip the LTLM then “paint” the target to call an artillery barrage and destroy the sniper nest. Once done, follow your allies until you get to operate a remote bot.
Explore the building and take out the hostiles that you encounter along the way. Follow the straightforward path the bot can navigate until you finally find the marines ahead. Provide covering support to them until your bot is destroyed.
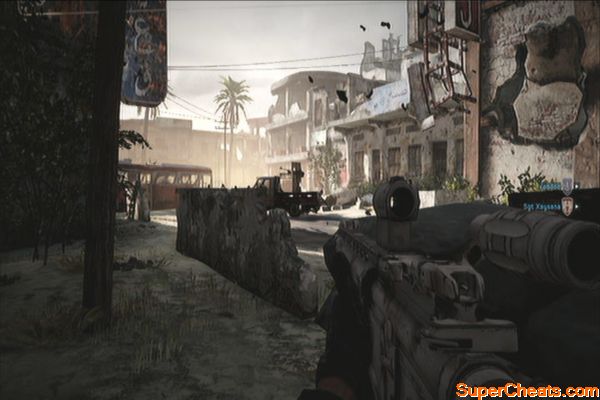
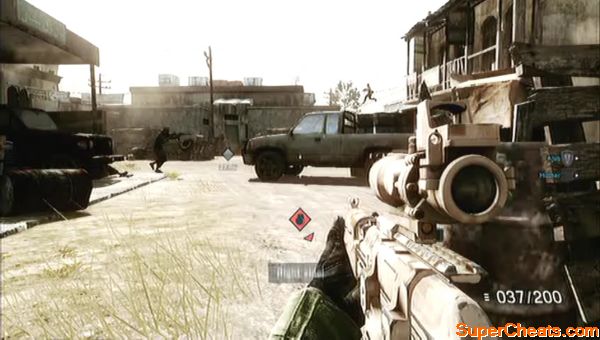
Remote Bot After losing the bot, continue to the next door and breach it. Kill the hostiles inside then take out the hostiles in the other building across the street. After clearing the building, go downstairs then carefully exit. An enemy technical will appear so take cover and take out the gunner. If possible, try to get inside the other building to get a more clear shot.
As you proceed forth, more enemies will appear ahead. You can use the mounted machine gun at the back of the technical earlier to easily and quickly take out these reinforcements. Your allies will move forth as soon as its clear so just follow them afterward and continue upstairs. Another technical will arrive so dig in and take out the gunner. Breach the next door then continue upstairs.
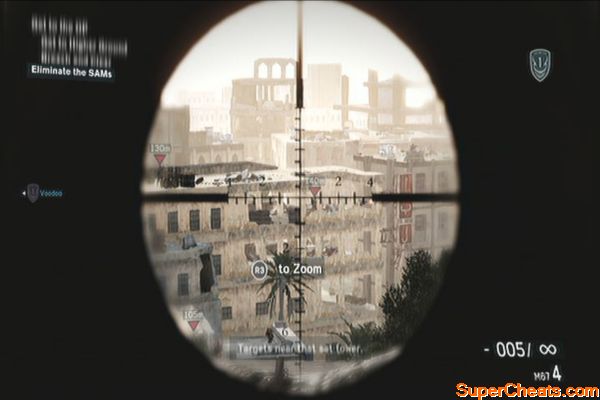
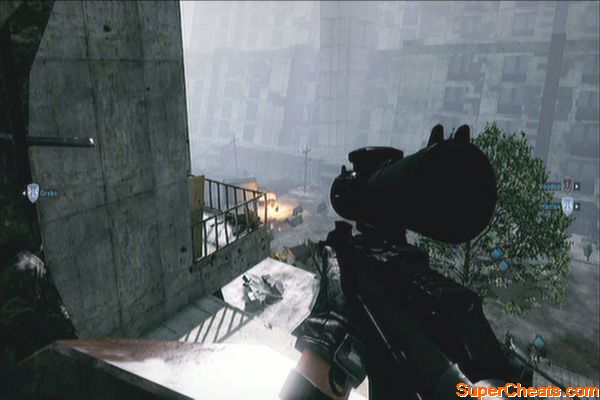
Once you reached higher ground, you'll set up an impromptu sniper nest. Take out all the marked targets; take note that you have to adjust your fire accordingly as the bullets won't follow a straight trajectory. The last two targets will be a bit tricky since they're farther and you have to take them out quickly.
If you're after a trophy, you have to hit the marked targets without missing a shot. Don't bother with the smaller fries; just concentrate on taking out the marked targets. Just aim your reticule above their heads to ensure that they get hit. For the last to targets, adjust your target so that the vertical “2” is above their heads.
Leftover Lead After successfully taking them out the last targets, the chapter will be complete.
Hot Pursuit
This chapter is all about catching up with the target and taking him out. Just keep chasing him until you reach an alley where you can close the distance and take the target out. Just ram the target's vehicle to complete this chapter.
Hot Pursuit If you're after a trophy (Vender Bender), you have to smash 90 vendor stalls along the way. There are more than 90 stalls here so just run over and destroy the ones whenever you can. Restarting the checkpoint won't reset the count but it is cumulative instead.
Vender Bender
Changing Tides
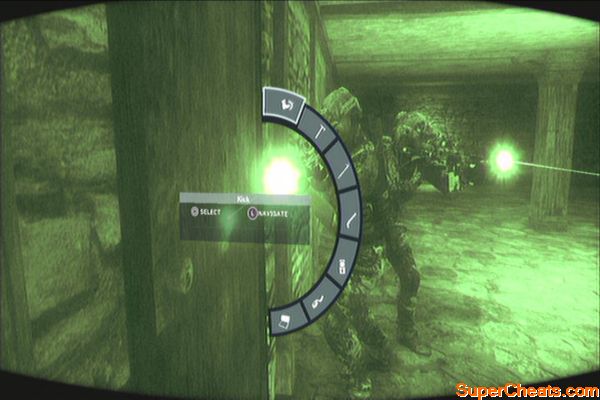
Sneak behind the first target and take him out. Continue following the straightforward path and sneak behind the enemies as you take them out. Don't worry about shooting your targets as your guns are silenced.
You'll eventually run into two guards patrolling. Mother will tell you to line up and take them out with one shot. Do so and you'll unlock a trophy. (Double Header)
Two heads, one bullet Continue taking out the guards until you reach a locked door you'll need to breach.
After clearing the room, continue outside and take out the enemy snipers. Take cover and pick them off one by one or if you want to it the easy way, paint the tower using your LTLM and blast them to bits. More enemies will appear so move forth and dig in as you make your way to the bell tower.
Breach the door and move forth. This is a very straightforward path but has lots of hostiles so take cover and pick them off as you continue. Keep heading forward until you finally reach another locked door. Breach it and watch the whole room clear itself. Head to the next building and go upstairs. Follow Mother as he opens the door and head outside to complete the mission.
Rip Current
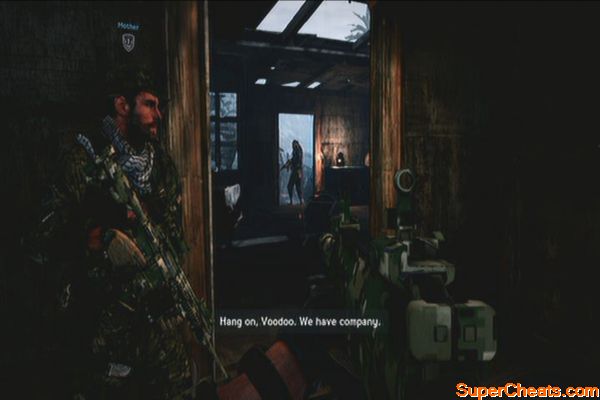
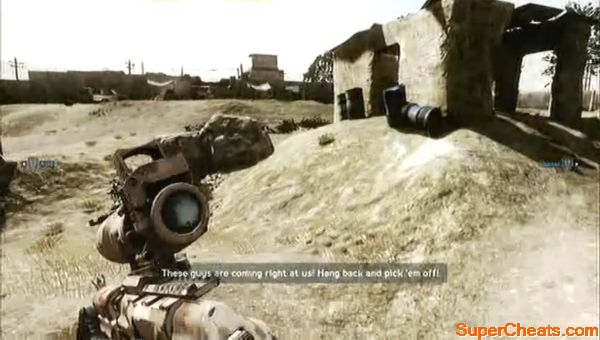
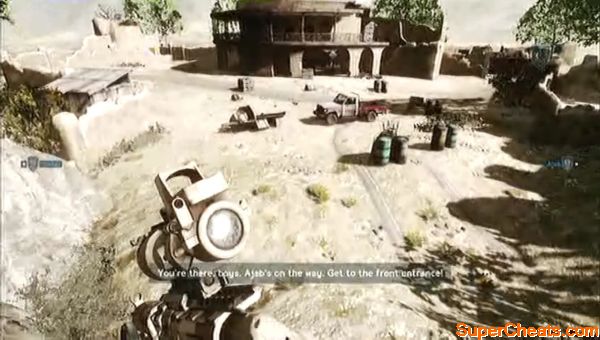
Regroup with the friendlies then clear the next warehouse. Head outside and take cover. More enemies will appear from 10 o'clock. Be careful of the sniper on the top of the destroyed overpass. Clear the streets as you make your way to the next building where Tiger 12 is located.
After regrouping with Tiger 12, stand by until more enemies pour in outside. Use the LTLM to paint the entrance then manually control the gunner seat and take out as much enemies below.
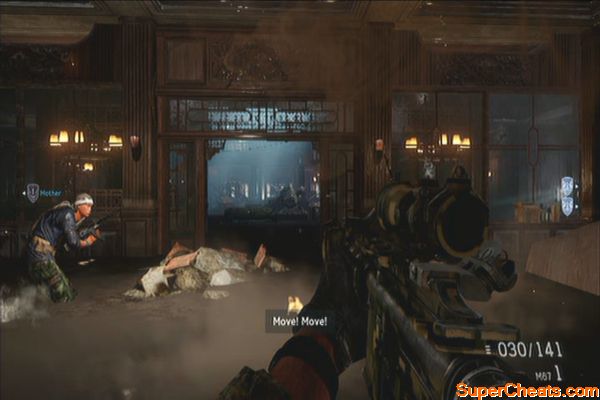
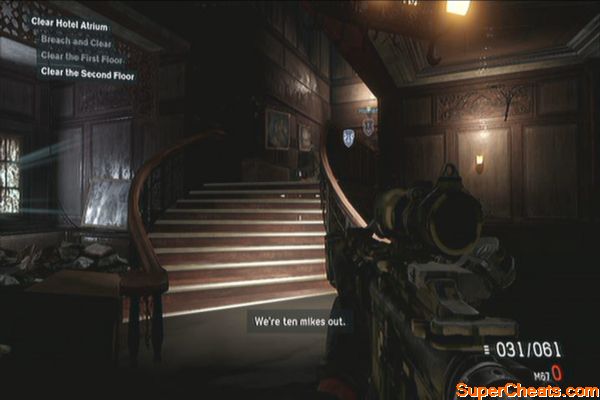
Rip them up! Once done, continue outside and head to the entrance to trigger a scene. After the scene, follow Mother as you make your way inside the capitol building. Clear the next hallways and room until you reach a dead end. Breach it by placing an explosive then clear the next area.
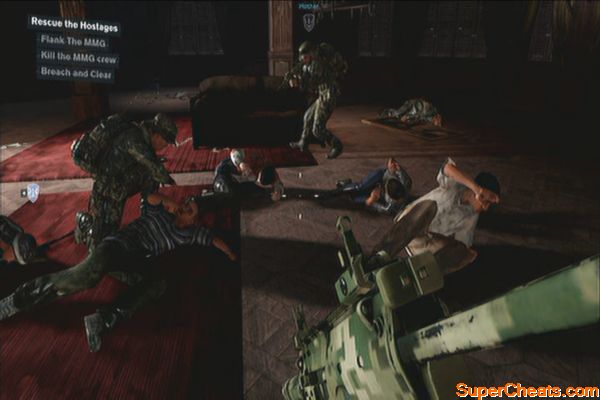
Take out the two guards and the MG placement in the upper floor, 12 o'clock. Take cover and carefully clear the first floor. Head to the second floor and carefully move as you take out more targets.
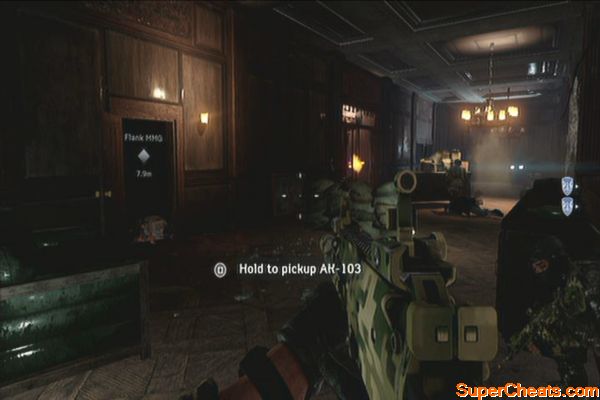
You'll eventually encounter an MG in the hallway. Wait for the other door to open and kill the enemy that will come out. Enter the door and flank the MG. Take out the gunner and the remaining enemies then breach the red door to the mayor's office. Kill all the guards to save the hostages and start the next phase of the mission.
In this phase, you have to keep shooting at the marked targets to avoid getting damaged to much. The mounted weapon launches explosive rounds so use this to your advantage.
Escape from flood and bullets If you're after a trophy, you have to kill 20 enemies with the grenade launcher. Refer to the video below.
Release the Kraken! After the scene, you'll have to take the wheel and drive the speed boat before the hostages get fatally injured. The path is pretty straightforward but you still need to do some careful maneuvers to avoid enemy attacks. Keep doing this until you reach the open sea.
Torrential rains and lead
Hat Trick
Once your character has taken position, stay put and don't fire a shot. You need to wait until you the guy in the middle who is holding the captain gets marked. Take aim and fire to take out all enemies.
Finding Faraz
For the first part, you have to close the distance and catch up with Faraz. As you catch up to him, the first batch of his guards will engage you. Take cover and eliminate them.
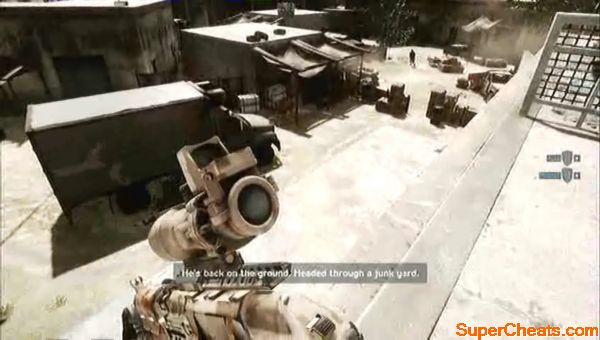
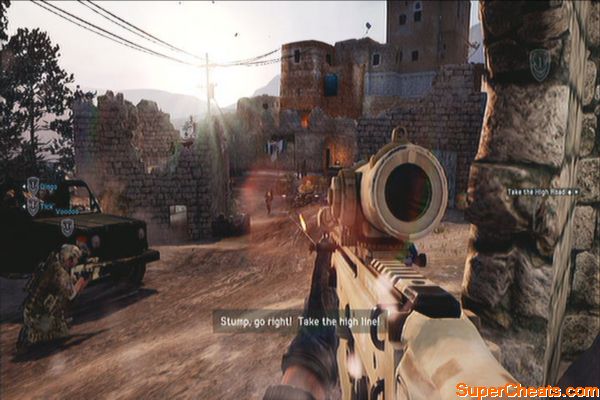
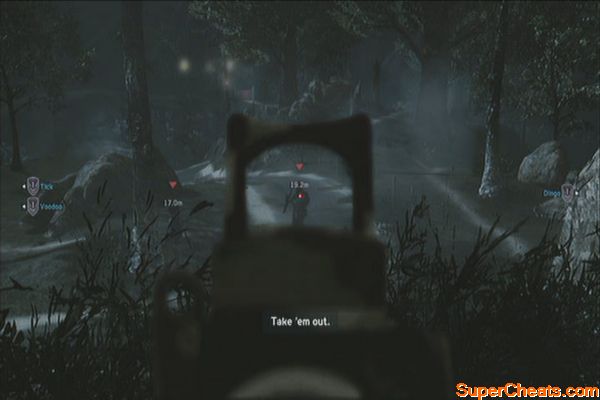
Continue your pursuit deeper in his compound and eliminate all hostile forces along the way. Take note that these guys wield high-powered rifles as well so don't expect to survive very long if you keep taking damage. The path is very straightforward so don't afraid about getting lost. Take your time eliminating the targets as Faraz will only move once you get near. Follow him until you reach a dead end past the wide, open area of the compound. Turn left and go through some broken walls until you see him again.
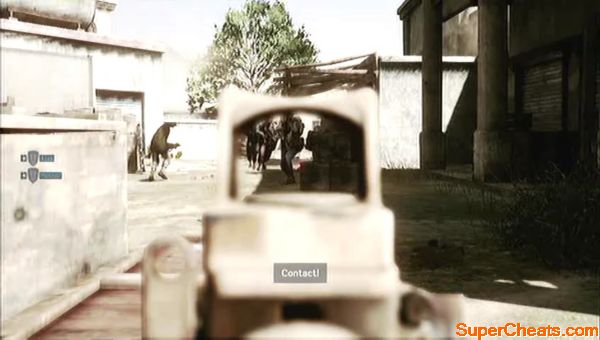
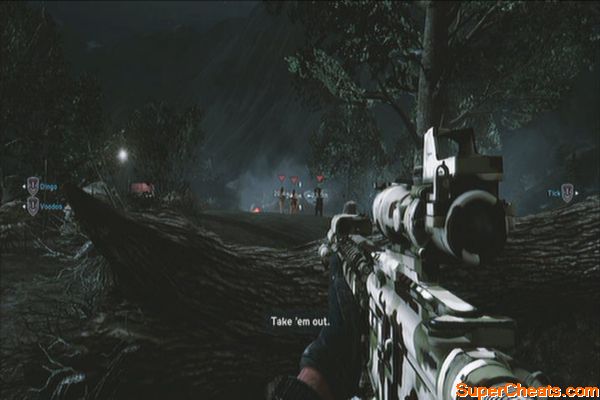
Give chase and take out more targets. He'll eventually cross a wooden bridge to the next area. Be careful as you move since there are tangos inside the guard house along the way. Head to the next area to find a heavily guarded entrance. Dig in and eliminate more targets. Once done, position by the door to proceed.
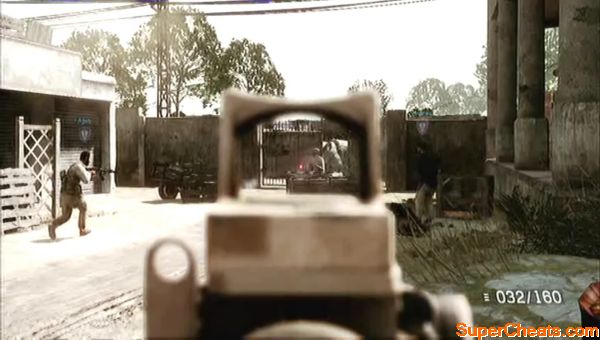
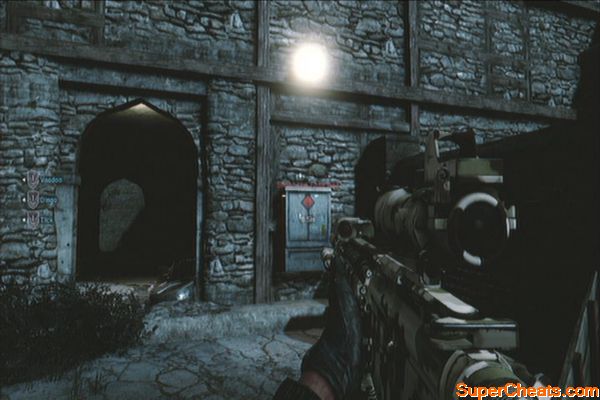
Continue inside the main compound and clear all enemies before moving forth. Be careful of the ones who appear by the rooftop. If Faraz starts to escape as you slowly proceed, don't give chase immediately; stay in cover and continue taking out more enemies. Continue your pursuit through the narrow alley. Take out the guy in the technical then fight your way through the gate to the next area.
Pursue him along the straightforward passageway. There are more enemies here as well so carefully proceed and take them out as necessary. Continue and take out the last remainder of his forces and catch up to him as he attempts to climb over the wall.
In the next phase, you have to get to the marked building as fast as you can. After reaching the slope leading to the building, take cover as there are more enemies waiting inside. Clear them out then enter the building. Breach the next door to complete the mission.
Connect the Dots
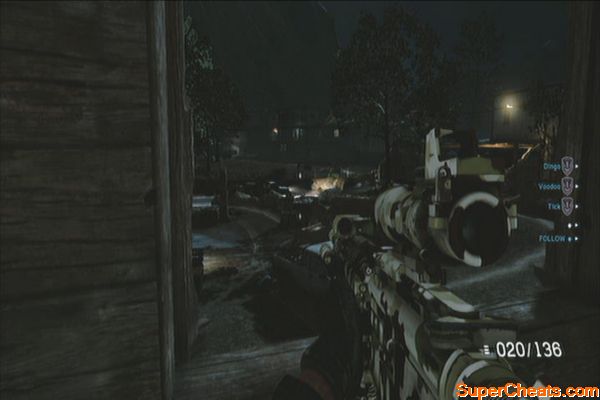
Once in control, support the ground forces by providing covering fire as well as eliminating the RPGs as well. You have unlimited ammo but your machine gun overheats so don't be so hard on the trigger. Aim for the explosive barrels to take out multiple enemies at once. As you make your pass, enemy technicals will also appear; just keep shooting at them to destroy them.
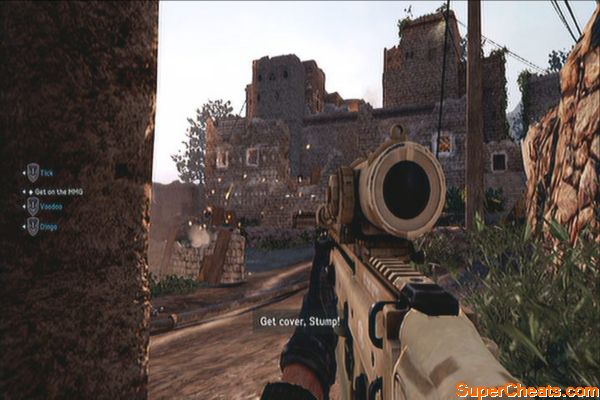
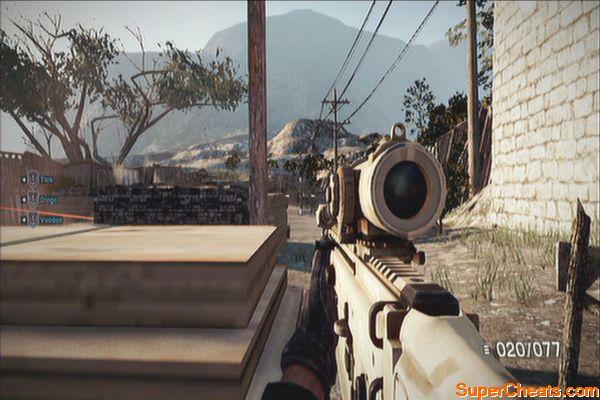
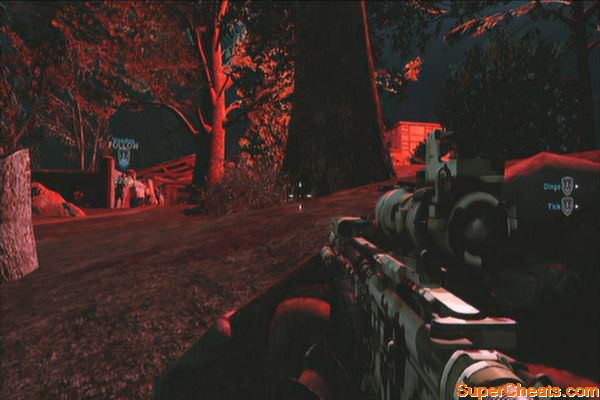
Off to the mountains After the sequence, you'll have to continue on foot. Move from cover to cover as you proceed. Be careful as well since there are armored terrorists here who are more resilient against gun fire. Continue clearing the village until you get the prompt to breach a door.
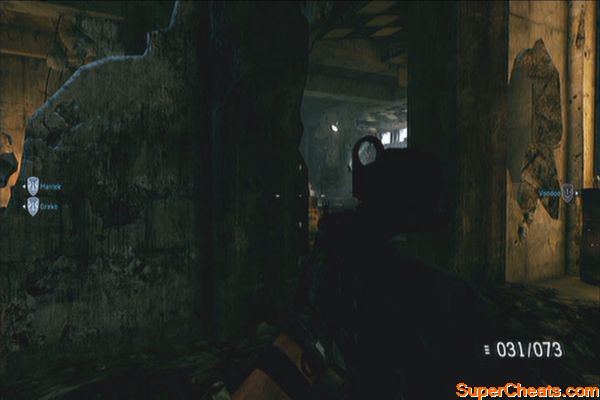
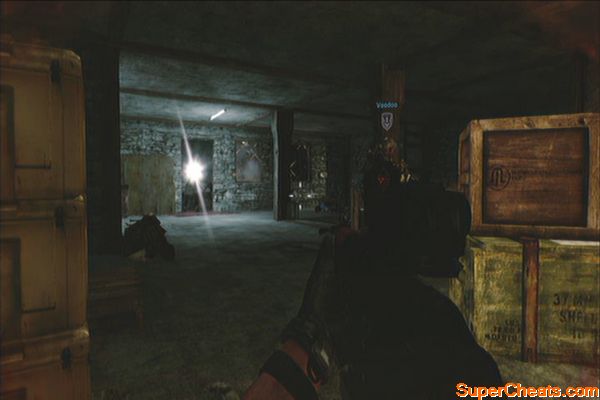
Head outside then clear more enemies. The area's packed with hostiles so just dig in and defend the area until the allied airstrike arrives. Once things quieted down, follow Voodoo inside the building then clear the area outside. Continue forth until you find the underground entrance leading to the training facility.
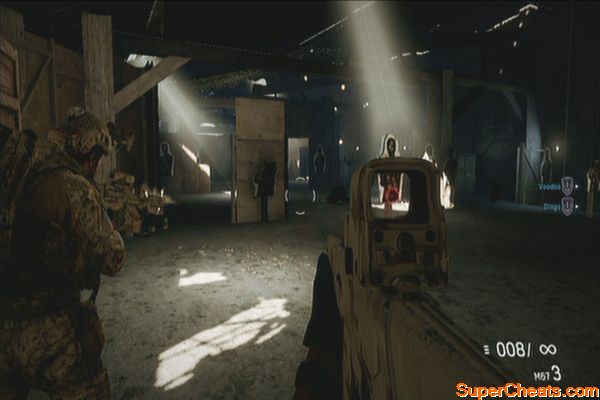
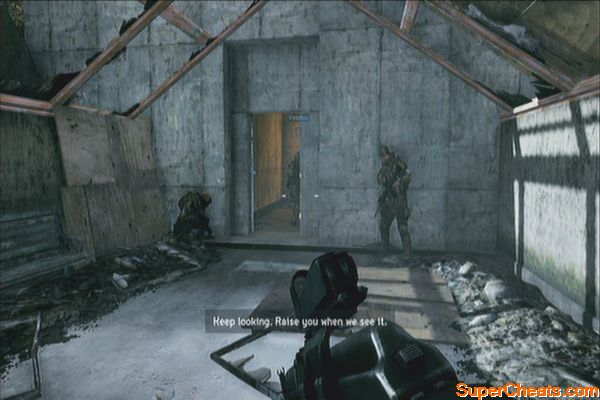
Continue inside and use the covers as you clear the area. In the wide training room, destroy all targets to get a trophy.
Target Practice After reaching the part where you took cover from a grenade blast, take out the guys in front of you then continue upstairs. You should have a better view of the enemies on the ground. After taking them out, breach the next door and follow Voodoo.
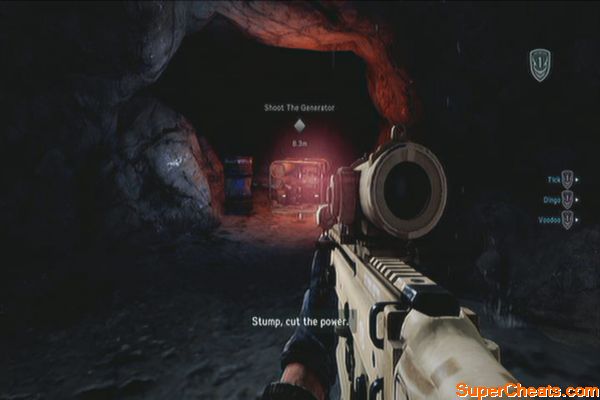
Head outside the facility then explore the cave system. Clear the tangos with a well-placed grenade then shoot the generator. After equipping your night-vision gear, proceed deeper in the cave and take out the enemies without too much resistance. Stack up on the next door and proceed to the next area.
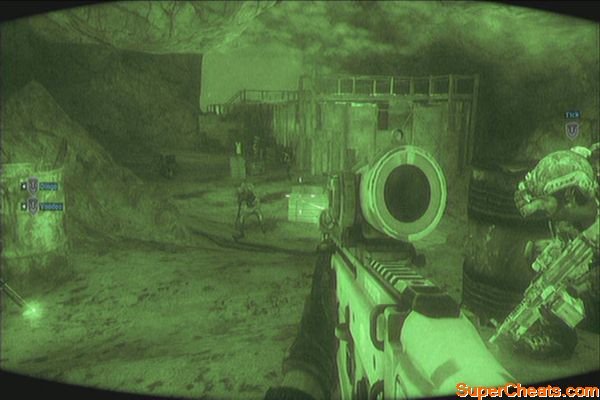
Lights will light up, making your darkness cover useless. After taking off your NODS, take cover and continue taking out more enemies. Make your way to the train station and carefully push your way through more heavily armed terrorists until you reach the blue door at the end. Breach it to complete the mission.
Hello and Dubai
This is another driving sequence which is divided into three phases. For the first part, you have to keep running and evading your pursuers.
Afternoon chase For the second part, you have to evade the patrols by using the hiding spots. There are patterns that these patrols follow so take a few seconds studying the nearby ones before making a move. Continue heading to the exit until you successfully leave the area.
Hide and seek For the final part, you have to continue to the expressway. The security chief's SUV will pursue and ram you whenever it has a chance so drive carefully in the counterflow and through the dust storm. After losing your pursuer, keep driving to the extraction point until a scene triggers. There's also a trophy to be unlocked here, by not hitting any of the incoming vehicles in the sandstorm.
Escape Storm Watch
Old Friends
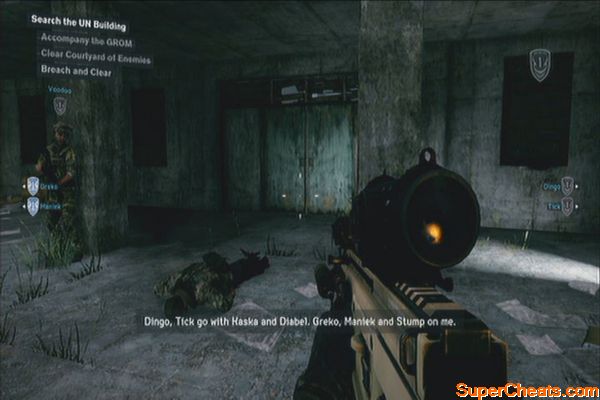
Once ready, follow your team mates to the next building then continue upstairs. Peek through the opening on the wall and pick off the ground targets. Once done, you have to take out the snipers in the building up ahead.
After taking them out, go back downstairs and rally up with the others. Continue outside and clear the enemies there. Don't proceed too far ahead as the enemies tend to reinforce themselves quickly. After clearing the courtyard, continue with your team mates and breach the building's door.
Once inside the building, continue upstairs and clear the floors. Be careful of the activated IED spots on the floor as well. Continue to the upper floor and fight your way inside until you exit the building. Continue forth until you spot friendlies on the ground being pinned down by sniper fire.
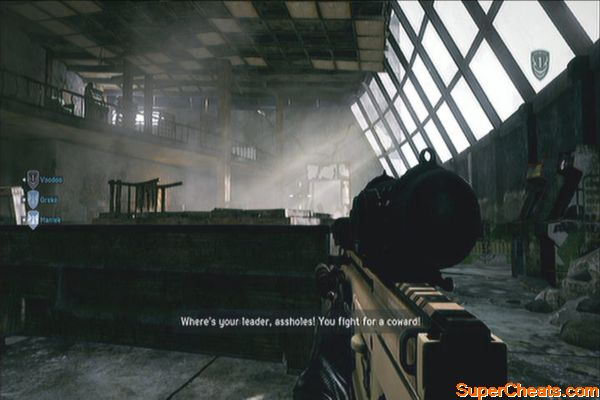
Breach the nearby door and clear the room. Kill the sniper in the balcony then pick off the enemies ahead so your ground friendlies can proceed. In the next large room, engage a large group of hostiles. You can take the stairs to the left and clear the enemies in the balcony so you can flank the enemies in the lower floor or shoot them from above.
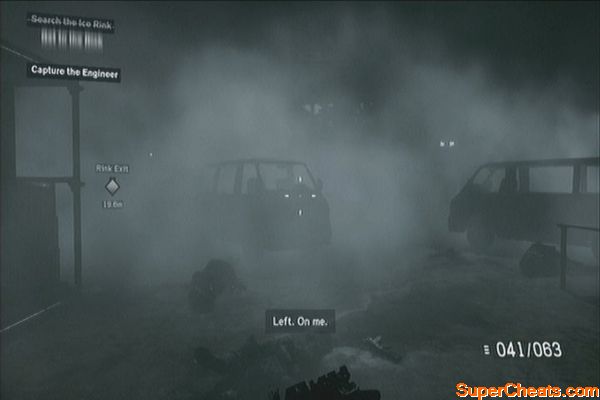
After clearing the area, regroup with Voodoo as he makes it to the next door. Head outside and carefully avoid the marked IED spots on the ground. Regroup with Dingo for a scene. After the scene, proceed to the ice rink. There will be a lot of enemies here so immediately find cover since they'll start flooding in once the smokes are out. Their flashlights should make most of them easy targets while the others can be seen through their silhouette in the smoke.
Head to the exit for a scene. Chase after Bosic and carefully move from cover to cover as the fog limits your visibility. Keep chasing after Bosic until you finally catch up with him. Watch the following scenes.
Bump in the Night
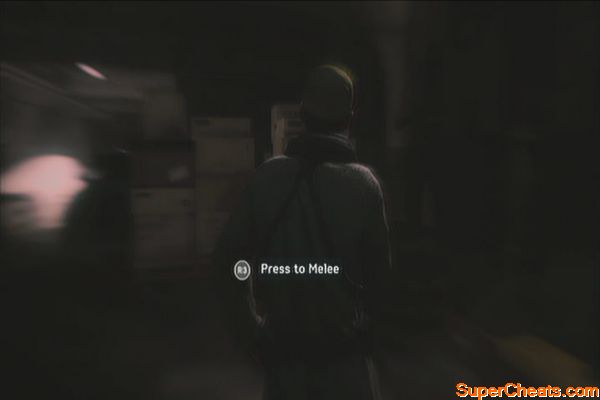
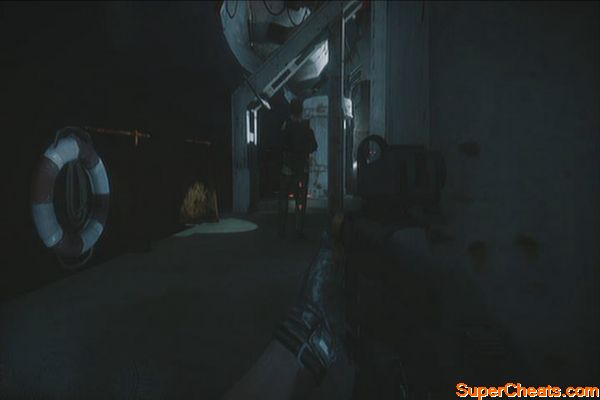
After landing, take out the enemies then continue to the bridge. The controls will switch over to Preacher. Melee the first two guards then sneak behind the other two to find a silenced pistol. Continue forth and once you killed an enemy with a shotgun, pick it up and use it as you make your way to the cargo hold.
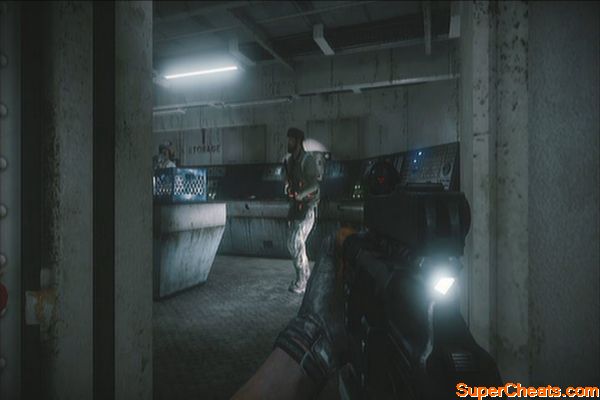
More enemies will converge here so move carefully since they just appear and start firing at you. Once you cleared the cargo hold, continue to the door leading to the engine room. Kill the two guards in the immediate room then proceed to the engine room.
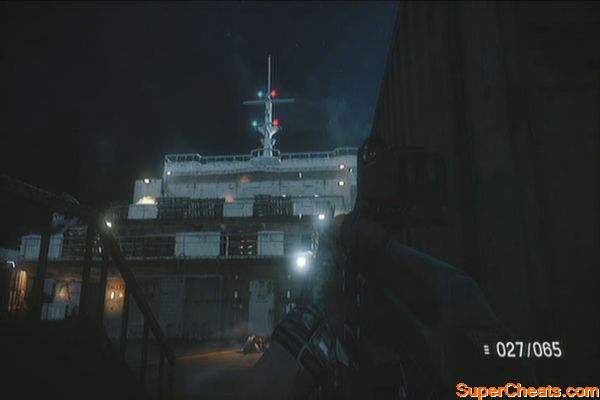
Once there, you have to fight your way to the lever you must pull to disable the ship. The whole room is narrow so you have to keep your weapon ready as you check the corners. After disabling the ship, you have to make your way to the top deck.
Once you've reached the top deck, you can go silent and melee kill the guards. If your cover is blown, just go loud by picking up any of the weapons dropped by the guards you killed.
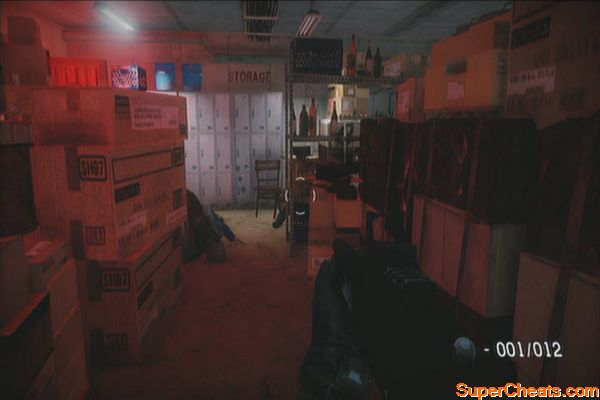
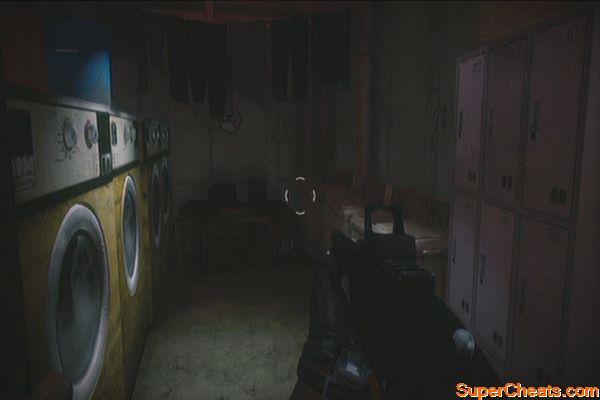
Once inside, go through the kitchen and just shoot through the boxes since they won't be able to cover the enemies behind them. Continue upstairs to the cabin and carefully clear each room. Open the door to the laundromat and collect the grenades inside as well. (This unlocks the trophy “Dirty Laundry”)
The recreation room ahead has a lot of enemies so use the grenades you acquired earlier to clear it without too much difficulty. Exit through the door and continue to the bridge to catch up with the target and beat the crap out of him.
Shut it Down
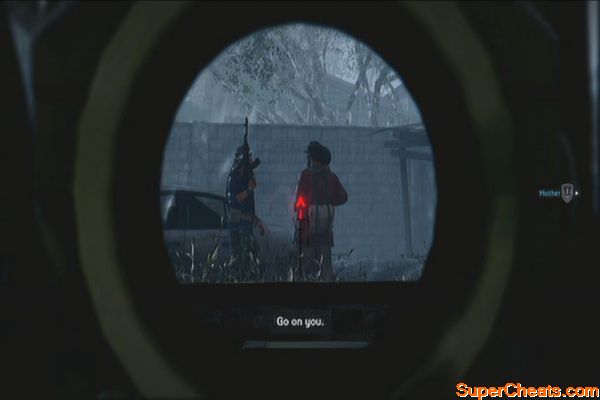
Continue along the path to encounter an enemy patrol. Stay put and let them pass, except for the last two men who stopped for a piss. Take them out then follow the trail that will lead you to another group of targets you must take out. Let the other unmarked groups to leave then eliminate the ones by the bonfire.
Continue forth until you reach the gate. Let the truck to leave then take out the lone guard. Head inside the compound and shoot the fuse box to cut the power. Kill the hostile who will open the door then clear the house. Breach the next door and kill all the guards to clear the first floor. Continue upstairs and fight your way through more enemies until you get to engage the enemy forces outside.
Once you've taken out most of the enemies outside, follow Voodoo as he exits the house. Head to the left and carefully take out the enemies uphill. Keep left and enter the barn. Kill all enemies outside then wait for Voodoo to breach the door.
Continue to the next house and take out the group of enemies that will go running from the stairs. Continue upstairs and immediately find cover. Take out the remaining forces there then move to breach the next door. There are six enemies inside so you have to take them out as quickly as you can.
After clearing the door, head outside and regroup with your squad. There's heavy resistance up ahead so you'll have to drive a bot to clear the path.
Clearing the path Once the path is cleared, regroup with your squad by the gate then move forth. Take cover as more enemies appear then proceed to the bridge. Take cover as an enemy technical appears. Take out the gunner then mount the vehicle to clear the gate ahead.
Fight your way inside the burning palace, eliminating the slight resistance until you find the Preacher. After the scene, shoot him in the head to end everything and to complete the game.


Post a Comment