Metal Gear Solid V: Ground Zeroes

Ground Zeroes
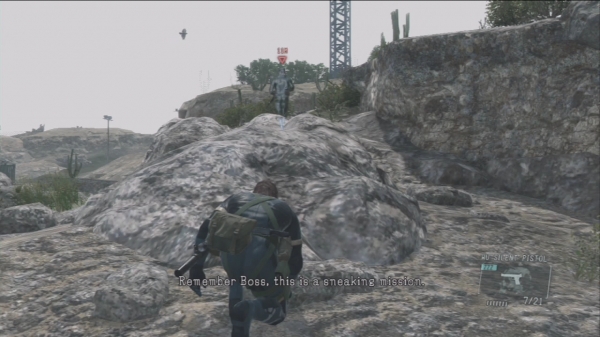
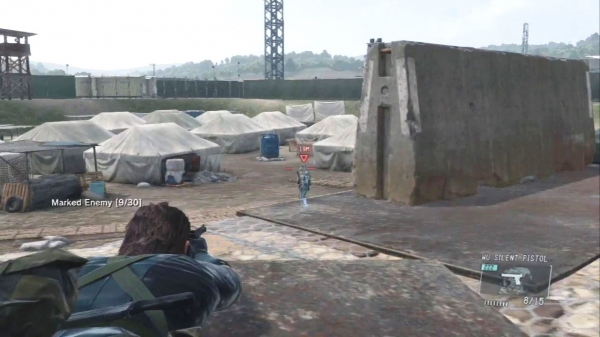
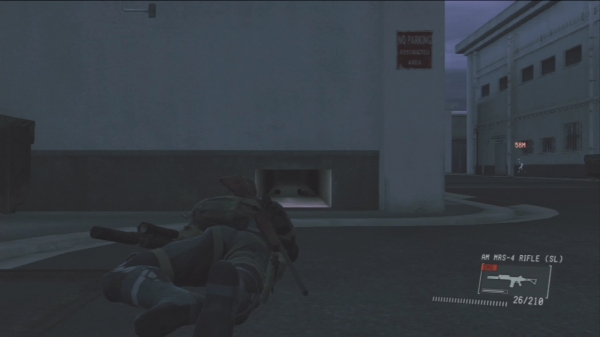
There are many ways you can complete your objectives like utilizing stealth and thin down the enemy ranks from the shadow, neutralize your targets with non-lethal means, or simply go loud and take out as many enemies as you can. You’ll have an evaluation at the end of the every mission which will grade you over criteria like completion time, enemies killed, number of retries, and completing secret extra objectives. Getting a called helicopter shot down, killing enemy soldiers, retrying, triggering Combat Alerts all lead to final score deduction so avoid these as much as possible while completing the tasks effeciently and quickly.You have two silenced weapons with you; the Silent Pistol that fires non-lethal tranquilizer rounds and the AM MRS-4 Rifle that fires suppressed lethal rounds. The latter’s suppressor degrades over use. Use your binoculars to tag soldiers so you can always take note of their location in your map and in your normal viewpoint. Make sure to look around first before moving. If possible, move behind cover and don’t run unneccessarily. When moving slowly, you’ll still have a few seconds before the enemy discovers you. If an enemy discovers you, you’ll enter a slow-motion sequence, giving you enough time to tranq or kill him. Even if you have this helpful feature, it won’t help if you get spotted by multiple enemies at the same time. More importantly, make sure to hide the bodies of dead / unconscious enemies, especially if they’re along the main roads or pathways.
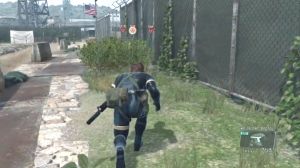
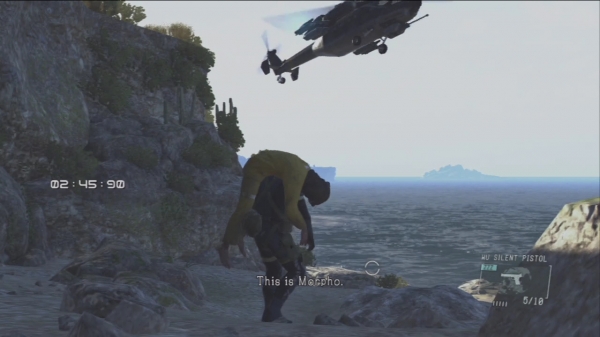
As soon as the game starts, you can turn around and check the cliff behind you to find an XOF Patch. After getting the first patch, you can immediately get the second patch by going prone and rolling around the ground it gets shaken off from Snake’s back. There are nine of these scattered in this mission and getting them all will unlock the Deja Vu (PS3/PS4 only) or Jamais Vu (Xbox 360 / One) Extra Ops missions. Aside from collecting XOF patches, you can also collect some Casette tapes found only on this mission. Since collectible-hunting strays you away from your main objectives, you just have to play the mission again after collecting collectibles if you want a better ranking.
First two XOF patches
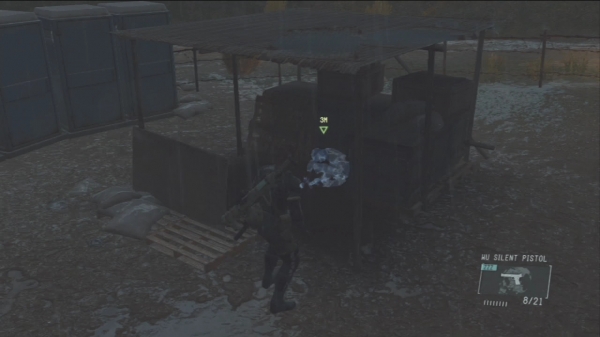
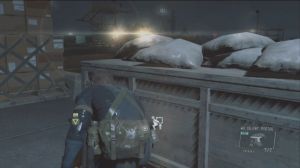
Tag all enemies you can see and wait for the spotlight to turn away. Hug the rocks to the right and run ahead until you reach a ledge you can climb on. Find a good shooting position and tranq that guard. Now go down and unlock the gate. Head to the West Refugee camp where you’ll see some tents in the lower grounds. Jump off the railing and search for another XOF patch in the pile of trash in front of the shed.
West Refugee Camp XOF patch
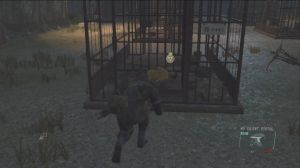
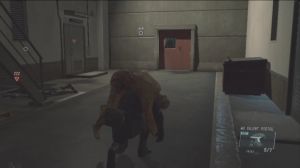
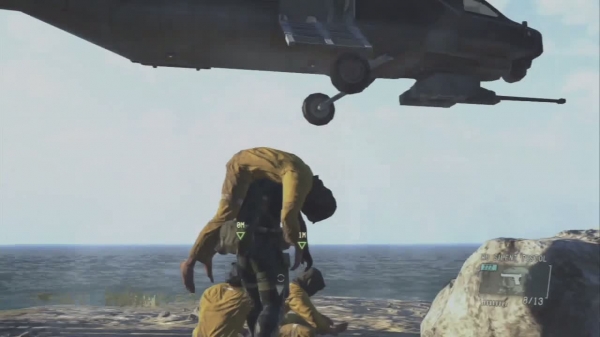
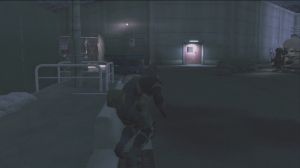
Head to the northwest of the refugee camp to find a lone prisoner under the shed. Pick him up and carefully bring him back to the landing zone, just behind your starting point. Call in a chopper to load him and the "Rescue" achievement/ trophy.
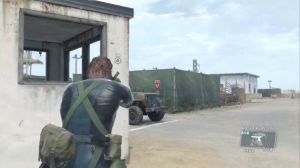
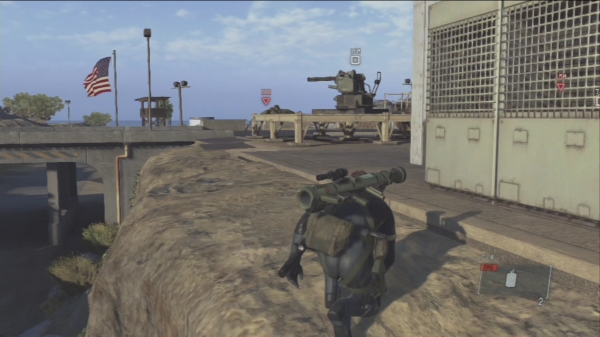
Continue north and you’ll reach the warehouse area. Be careful of the patrols here since there is one guarding the closed gate leading to inaccessible area to the west and two more soldiers in the middle of the warehouses. To the north of the warehouses are several generator blocks inside a fence. Pick the lock and find another XOF patch on the top of one of the generators there.
Warehouse Generator XOF patch
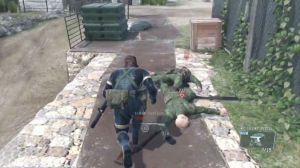
After that, head east past the Eastern Refugee Camp. There are more guards stationed along the way so make sure to take your time learning their patterns and taking them out. Keep heading east until you cross the road and take the dirt road leading to the prison camp. There’s another XOF patch on the top of the guard house. After getting it, head to the prison camp and take out any guards that may see you. Once clear, pick the lock of the gate to find another XOF patch.
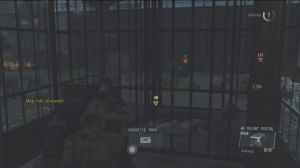
Prison Camp XOF patches
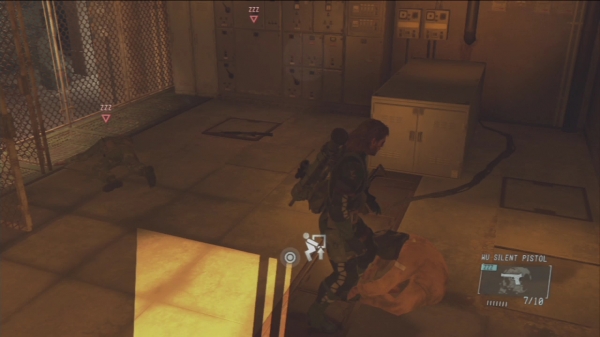
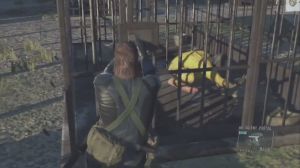
Once inside, you have to free Chico to proceed with the story. Make sure to loot the casette found on the connected cell behind Chico‘s (Here’s to You). You can bring him and all the other prisoners to the landing zone to the east. However, to retrieve another casette, DO NOT call the chopper and load him yet. You need to meet this first condition to get this specific casette tape. Just leave them in the RV and make your way to the admin building.
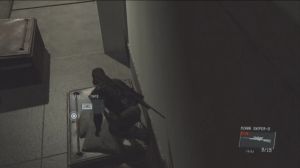
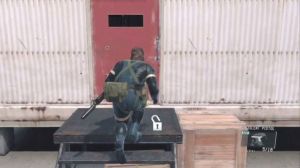
Return to the main road and make your way to the northeast. Beware of the camera mounted on the fence along the way. Deal with the guards here by avoiding or tranq’ing them. Keep in mind that you have to keep any alarms from triggering since you need some specific soldiers in their original posts to get the cassette we’re working on right now. Make your way to the pile of cargo by the wall to the north. There’s a drainage outlet here that has another XOF patch. Pick it up and enter the red door.
Drainage outlet XOF patch
Take out the guard here then climb one of the air-conditioning machines and grab to the nearby ledge. Search the active exhaust to find another XOF patch.
Exhaust XOF Patch
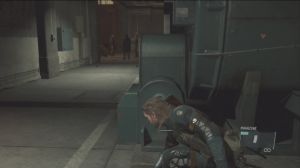
Now you need to get past the security cam instead of destroying it. Move under its blind spot once it turns away then wait for it to turn to the other direction before going downstairs. Once there, head to the boiler room ahead and stay in cover. If done correctly, you should hear the three soldiers talking about a recording they threw away. As long as you didn’t trigger any alert the three of them should have this conversation. Otherwise, you need to reload the checkpoint. Make your way to the northwest of the admin building and find Chico's Casette #5 in one of the dumpsters in the small alley beside the stairs.
After getting the cassette, make your way south this time. You should have a lot of cover to move in and reach the ladder leading to the platform connected to the Central Tower. Get in there to find Chico’s Casette #2.
Make your way back to the boiler room and take out the guards. Now free up Paz and carry her outside the admin building. Depending on how much you’ve alerted the enemies, you may find an armored vehicle guarding the exit or more guards than usual. Otherwise, it should be an easy run towards the landing point. For now, hide her behind the cover since you still have one more XOF patch to collect.
Unfortunately, it is located in the open space in the helipad, making you vulnerable to enemies. Since you’re only after the collectibles for this instance, it will be convenient for you to just kill some of the enemies; getting points deduction for killing soldiers shouldn’t matter for now anyway. Search the ground for a dark spot beside an electrical block, between two helipads. The last XOF patch should be there.
Helipad XOF patch
You can call in the chopper in advance so you don’t have to wait once you’ve reached the RV. The base will also discover Paz’s escape after a few minutes which will prompt everyone on full alert. As long as you didn’t make any detours, you should be safely on your way leading back to the RV. Once the chopper arrives, load Paz, Chico and the other prisoners (if any) then board the chopper as well to end the mission.
Eliminate the Renegade Threat
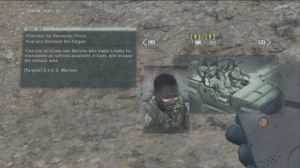
Though the mission specifically tells you to eliminate the targets, you can tranq them and extract them instead. Doing so will unlock the trophy/ achievement "Depth". Refer to the videos below for more details:
If you can't play the videos above, you can follow the walkthrough below:
Head towards the prison camp and take out the first guard you encounter along the way. You have to take out the soldier guarding the prison camp gate entrance next. A jeep carrying two soldiers will arrive shortly. Hide behind the ledge and wait for them to disembark. They should notice the sleeping soldier immediately so knock them out as well.
Follow the road leading to the main road. There are some tranquilizer rounds inside the guard house ahead so grab them to get your ammo to full then carefully make your way to the armory south of the warehouses. Make sure to knock out the soldier on the watchtower as well. Upon reaching the armory, knock out the guy on the watchtower. By the time you reach the armory, the target should be already on the move. You'll know him immediately since he has two escorts. Tag him and pick the lock of the armory. Pick up Chico's Tape #6 in the corner of the room.

Head towards the West Refugee camp while staying out of sight from the soldiers. The target will walk along the grassy path beside the road. This is where you have to tranq him and the soldier accompanying him. First, tranq the guard walking around the refugee camp below to avoid getting spotted.
Go prone in the bushes and wait until the target starts walking towards you. When in effective range, put them both to sleep, then quickly hide the body of the other soldier in the grass. Another keep will arrive shortly and a guard will get off from it.
Don't make any hasty moves yet. Look around and make sure there are no other soldiers around. Put him to sleep as well and hide his body. Next, unlock the gate leading to the landing zone (spot where you first started in the Ground Zeroes misssion) . Call in the chopper and load Palitz there to complete your first objective.
The second target is patrolling found within the walls of the admin building. After extracting Palitz, the base will go on alert status since they spotted your chopper. Continue carefully towards the northwest entrance of the admin building. Tag/ knock out any enemy soldier you encounter so you'll have an easier time extracting the other target. Once you've reached the northwest entrance of the admin building, just reload the checkpoint and the target will start with his original position on the wall. Put the soldiers on the ground to sleep then wait for the target to climb down the ladder. Put him to sleep and his escorts who will climb down after him. Carry the second target to your preferred landing zone and call in the chopper to extract him. Mission complete.
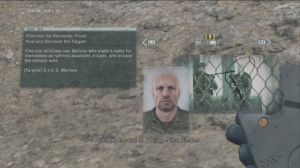
Intel Operative Rescue
Video Guide
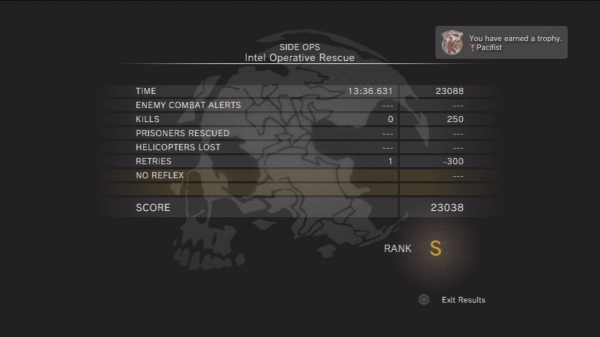
Finishing the mission without killing anyone will unlock the “Pacifist” trophy/ achievement. To do this, you’ll have to use the Uragan pistol which fires non-lethal rounds that will instantly knock out any soldier it hits. It doesn’t take out vehicles so you have to aim for the driver in order to stop them. To know how to do this, refer to the videos below:
Finding the VIP
Fighting off the armored vehicle
Exfiltration
Text Walkthrough
You have to take note of the following:
- Prioritize enemies shooting at you.
- When targeting moving enemies, always aim your reticule to the direction they're running.
- If there are enemies shooting at you and a vehicle pursues your VIP, take out the driver first.
- Explosions caused by enemies won't prevent you from unlocking this trophy.
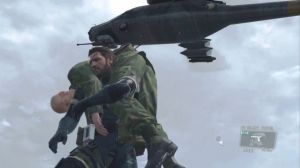
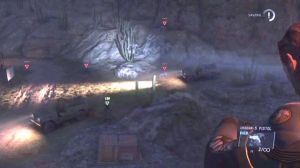
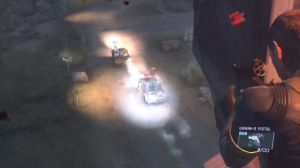
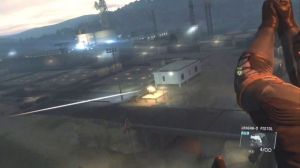
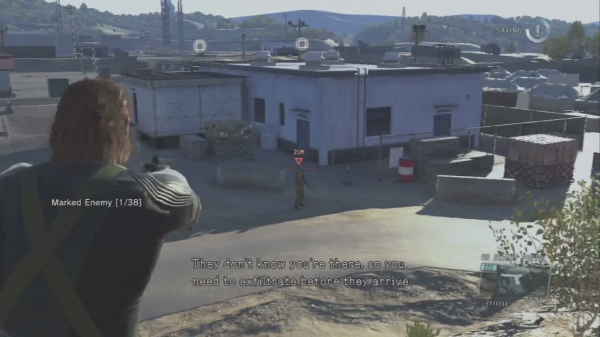
Once the mission starts. switch to your non-lethal pistol and start shooting at targets. Your ammo will be unlimited so just shoot away until you spot the target's flare. Once your chopper flies over the prison camp, prioritize taking out the soldiers with rocket launchers. As your VIP drives away, take out the pursuing jeep and the enemies shooting at you. As he makes his turn, a military truck will block his way. Aim for the driver to prevent the truck from pursuing him.
Continue protecting the VIP from shooters and pursuers. On your way to the helipad, the enemies will man the AA gun. Take out the gunner and continue shooting enemies as much as you can. It will be challenge to hit enemies at a long distance so do your best in adjusting your shots accordingly. Once your target reaches the helipad, he will lose control and his jeep will crash. As your chopper maneuvers itself to reach the target, more enemies will appear. Be careful of the rocket launcher-equipped infantry on the Central Tower. Continue clearing the area of enemies until you get the cue to retrieve the VIP on foot.

Before picking up the VIP, get the rocket launcher nearby. Carry the VIP and an armored vehicle will appear. Quickly place the VIP behind an indestructible cover then lure the armored vehicle away from the knocked out soldiers, to prevent them from getting caught in the rocket's splash damage, which will ruin your chance in unlocking this achievement/ trophy. If you want to play it safe, you can run to the AA emplacement nearby and use it to shred the armored vehicle to pieces.
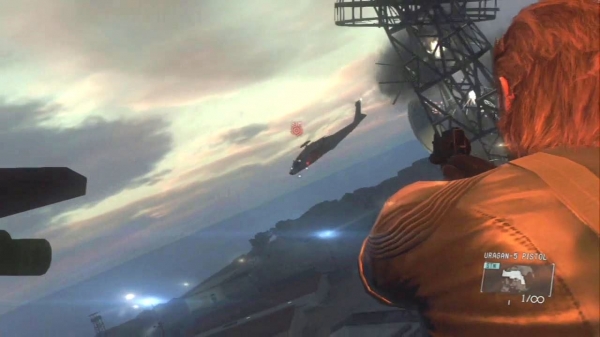
Once done, take out the enemy reinforcements and board the chopper with the VIP. An enemy chopper will pursue you. You can use the rocket launcher to take it out; however, make sure that the rocket won't hit the gunners on the window. If you want, you can still use the Uragan pistol to take out the gunners. You won't destroy the chopper but it will stop pursuit and the mission will be complete.
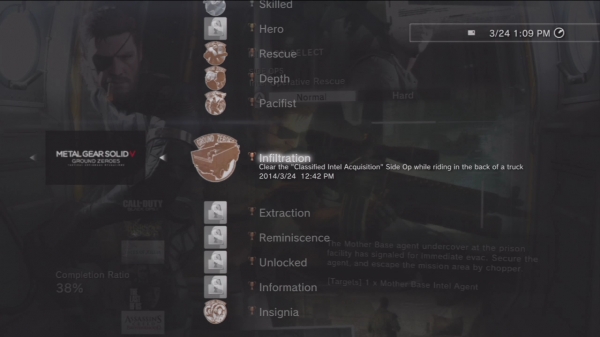
Classified Intel Acquisition
The game will offer two ways of completing this mission. One is by finding the undercover agent or using the west watchtower to signal him. However, there's an easier way of doing this and will unlock the "Infiltration" trophy/ achievement at the same time. Watch the videos below:
Infiltration
Exfiltration
Text Walkthrough
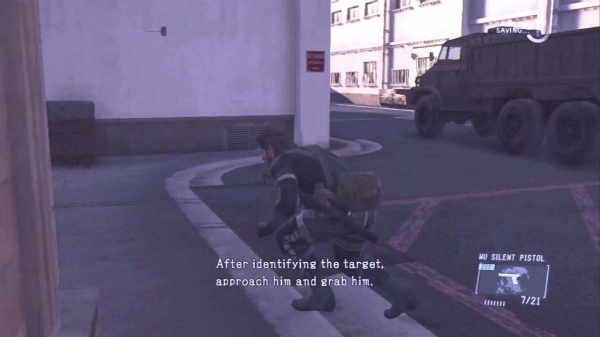
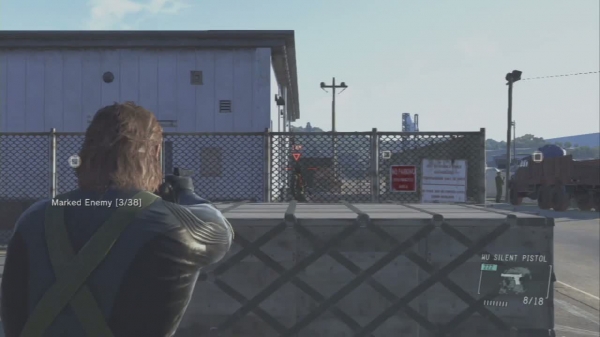
There are two important NPCs here. First is the truck driver. Make sure to tag him while he's leaving the truck inside the administration building. Next is the soldier who has the Classified Intel Tape. He's located inside the boiler room. In any case you mess up and they detect you, just put them to sleep and kick them to wake them up. They'll be on alert but will resume their normal routine after a short while.
When the mission starts, wait until the truck stops inside the administration building. Quickly leave the truck and wait for the driver to leave. Make sure to tag him first then go around the building.
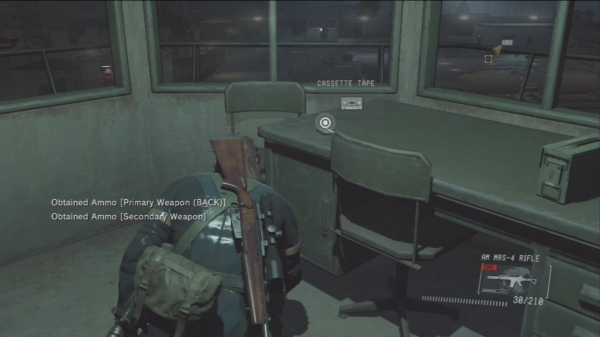
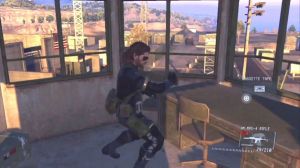
Climb up the ladder leading to the Central Tower. Go there, shoot the security camera and pick up the casette on the table.

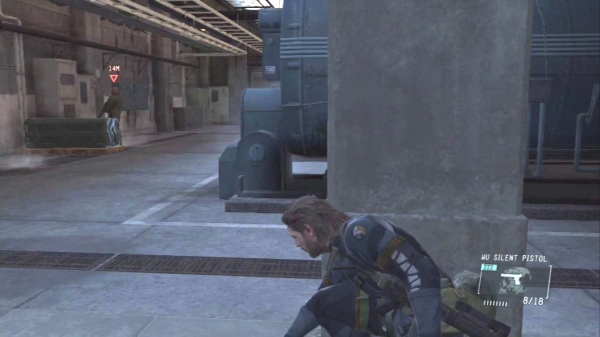
Leave the tower and jump to the ground. Make sure your way the boiler room and you'll find the lone, bald guy there. Sneak from behind and restrain him. While restraining him, interrogate him and he'll drop the casette. Knock him out and grab the cassette. Now make your way back to the truck and wait for the driver to return. Lie on your stomach to prevent other soldiers from spotting you and wait until the truck leaves the mission area. Mission complete.
Destroy the Anti-Air Emplacements
Out of the four AA emplacements in the base, you only need to destroy three. However, you can also unlock the "Extraction" trophy / achievement. This will require you to find and extract all prisoners of war in the base. One prisoner (who will unlock Chicos' Tape #7 upon debriefing) is located inside the administration building's boiler room.
The other prisoners of war are held in the prison camp. You can refer to the videos below:
Rescuing the POWs
Extracting the POWs
Text Walkthrough
As soon as the mission starts, take out the nearest guard you can see and hide his body. Now approach the AA gun and there should be another guard nearby. Quickly put him to sleep and hide his body. Now approach the AA gun and there should be another guard nearby. Quickly put him to sleep and hide his body. Select your explosives in the weapon menu and keep holding the same direction to bring up more options for that weapon slot. Select the C4 and plant it on the AA emplacement. Take note that you can also remotely detonate all the C4s you planted at the same time, anywhere in the base. This will make it convenient for you since you can just plant C4s and detonate them all when you’re about to leave.
A few minutes in the mission, the whole base will go on alert because of they detected the incoming assault force. All guards will be on alert status now and will be moving about. Make your way to the prison camp and look out for a guard smoking inside the fence behind the armory, right before you cross the road.
Follow the road and make your way to the prison camp. Look around for a possible roving guard in the nearby refugee camp. A guard will also run along the road from where you came from so ambush him and put him to sleep as well. Hide his body then head towards the prison camp.


Take down the guard standing by the guard house then head to the prison camp. There’s another guard there. Fortunately, he’s alone so you can take him by surprise and use the slow-motion feature to take him out. Free up the prisoners and take them to the nearby landing zone. Load them all up to the chopper and continue with your current objective.
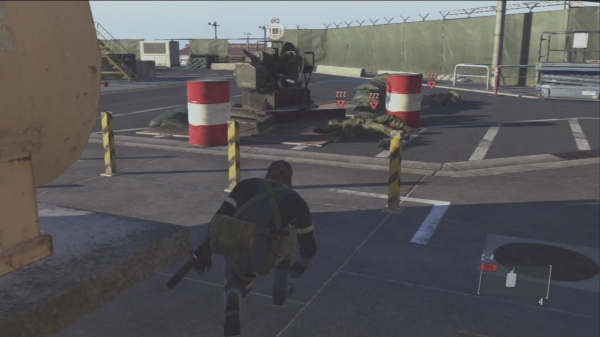
Out of the three remaining AA emplacements, the one standing in the middle should be the hardest to reach since it is in the open and there are more guards. From the prison camp, get back to the main road and make your way northeast. You can take out the soldiers around the AA gun along the way and plant C4 there.
After planting the C4, go around and take out the lone soldier patrolling the walls. He carries a rocket launcher so make sure to pick it up a swell. Walk carefully while hugging the walls until you get near the administration building’s northwestern entrance, where another AA emplacement guarded by two soldiers is located. Knock them out and remove their bodies to a safe distance to avoid collateral damage. Plant a C4 there as well.
Now enter the administration building and make your way to the Boiler room. A more valuable POW is found here so bring him upstairs, preferably towards the admin building’s northeast entrance. You can disable the camera along the way or just use its blind spot to get past it.
Once you’re in a safe distance, you can detonate the planted C4s. After destroying all AA emplacements, CP will deploy an armored vehicle, coming from the western side of the base. At this point, it will be a good idea to call in your chopper already. If you still have a lot of extra C4s, you can lay them down along the road since the armored vehicle will make its way to the helipad by following the main road. Detonate the C4s to damage it and make it stop then destroy it using your rocket launcher.
Destroying the armored vehicle will make initiate a three-minute countdown. If you’ve called the chopper in advance, it should be arriving just in time to pick you up. Carry the prisoner and hop aboard the chopper to complete the mission and unlock the achievement/ trophy afterward.
Deja Vu
This is a PS3/PS4-only exclusive mission. The objective is to recreate the scenes of the classic Metal Gear Solid based on the photographs you have. You can do them in any order you want though some of them are easier done and completed in a sequence.
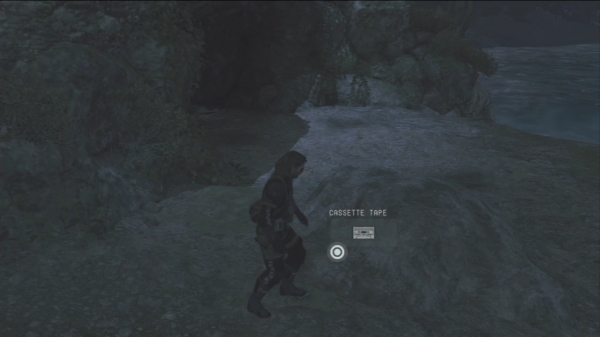
Once the mission starts, make your way to the landing zone to the east. Be careful of the path since there are directional mines scattered along the way. Once you’ve reached the landing zone, check out the rock outside the cave to find a cassette tape containing Resurgence and Theme of Tara music. After getting it, make your way to the northeast towards the administration building.
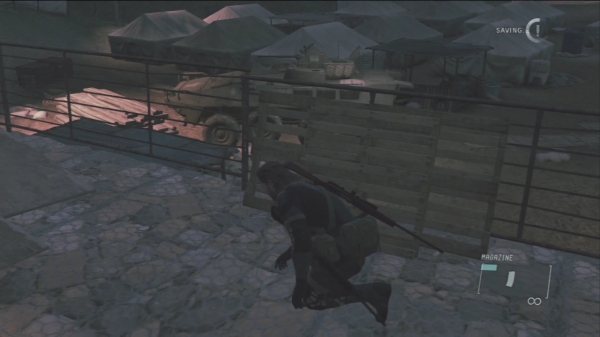
"Tank"
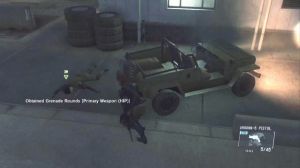
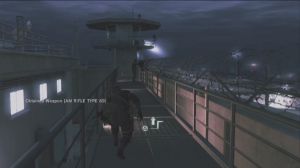
Out of all the scenes, this one is out of the way so you have to recreate this first for your convenience. First of all, you need some grenades. Since you start this mission without any weapons, you need to loot the armory to the south of the warehouse area. This is the small building south of the warehouses, and has a red door. Loot the other weapons and grenades as well then make your way to the refugee camp to the west. Lob a grenade inside through the hatch on the top of the armored vehicle to blow it up. Make sure to leave the area immediately to avoid getting caught.
"Gunship"
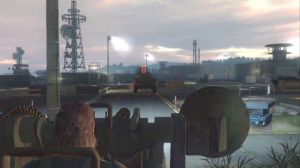
Head to the helipad right outside the administration and you’ll find a chopper there guarded by two soldiers. Take note of the large electrical box beside them. Take cover behind it and peek from the edge while the guards are not looking to automatically recreate the scene.

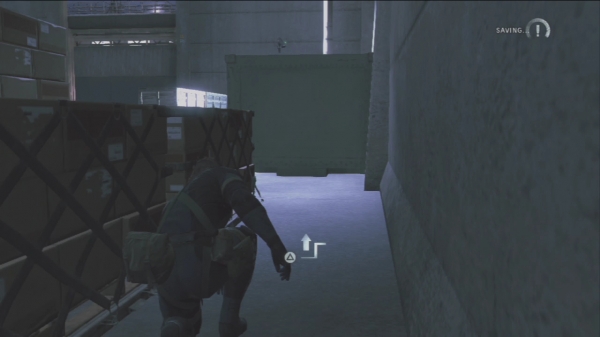
"Surveillance Camera"
The camera is found installed outside the red door in the northeastern side of the administration building. You have to peek from the dark green storage box in front of it to recreate the scene.
"Liquid"
There’s a jeep you can ride a few meters away from the gunship. Drive it along the main road and as soon as you pass through the underpass, the scene will be recreated.


"Searchlights"
Enter the administration building using the northwestern gate. Climb up the platform and take out the guards in operating the two searchlights along the wall.
Now move the two searchlights until the box on the helipad has only a small patch of shadow left. Now go back down and pick up the box. Don’t run; otherwise you’ll risk into getting spotted by the nearby guards.


"Moai"
Go to the administration building's boiler room and you’ll find the moai head on top of a machine box beside some lockers to the north.
"Mantis"
You’ll find the power boxes as soon as you enter the northwest door. Pick the lock of one of the gates and interact with the open box and trigger a scene.
After successfully recreating the scenes, crawl to the open vent in front of the admin building’s main gate to complete the quest. You’ll be also given a chance to answer the MGS quiz. The question set will depend on the difficulty when you finished the mission. You can use the cheat sheet below for the answers.
If you're able to recreate all the scenes in the mission Deja Vu, you'll have an option to take the Metal Gear Solid quiz. You can use the cheat sheet below to answer all questions properly. The set of questions will differ for finishing the mission in Normal or Hard difficulties.
Rewards:
- Classic Snake Skin: Complete the quiz on Normal
- Cyborg Ninja (Grey Fox) Skin: Complete the quiz on Hard
Normal Difficulty Questions
#1: MGS1 featured Solid Snake infiltrating which island?
Shadow Moses
# 2: The remote-controlled missile is known by which nickname?
Nikita
#3: Who did you need to call on the Codec in order to save your progress?
Mei Ling
#4: The Next-Generation Special Forces who took part in the uprising with FOXHOUND were given what treatment?
Gene therapy
#5: On which floor of the Nuclear Warhead Storage Building was Otacon's lab located?
2nd Floor Basement
#6: What was the Cyborg Ninja's True Identity?
Frank Jaeger
#7: Before being called back into action for the mission, Snake lived in Alaska as a...?
Musher
#8: What was the maximum load of the elevator in Communications Tower B?
650 lbs (300 kilograms)
#9: What type of storage media did the ArmsTech president give Snake?
Optical Disk
#10: What is the title of the ending theme?
The Best is Yet to Come
Hard Difficulty Questions
#1: What did Snake call Otacon's love for a certain female character?
Stockholm Syndrome
#2: When Otacon visited Snake at his cell after he was captured, he gave him what level of security card?
Level 6
#3: Which boss character was NOT a member of FOXHOUND?
The Cyborg Ninja
#4: What was the name of the studio (later renamed Kojima Productions) that developed MGS1?
KCE (Konami Computer Entertainment) Japan
#5: Who did Otacon fall in love with in MGS1?
Sniper Wolf
#6: How did they censor Johnny Sasaki's privates in the U.S. release of MGS1?
Pixelization
#7: Snake attempted to give Meryl a handgun of what caliber?
.45
#8: After escaping the base, Snake and Meryl encounter a family of which type of animal?
Caribou
#9: In total, how many prototypes of the stealth camouflage did Otacon build?
5
#10: What did the "P.A.L." in "P.A.L. Key" stand for?
Permissive Action Link


Post a Comment